【施工例】屋根・壁の塗装
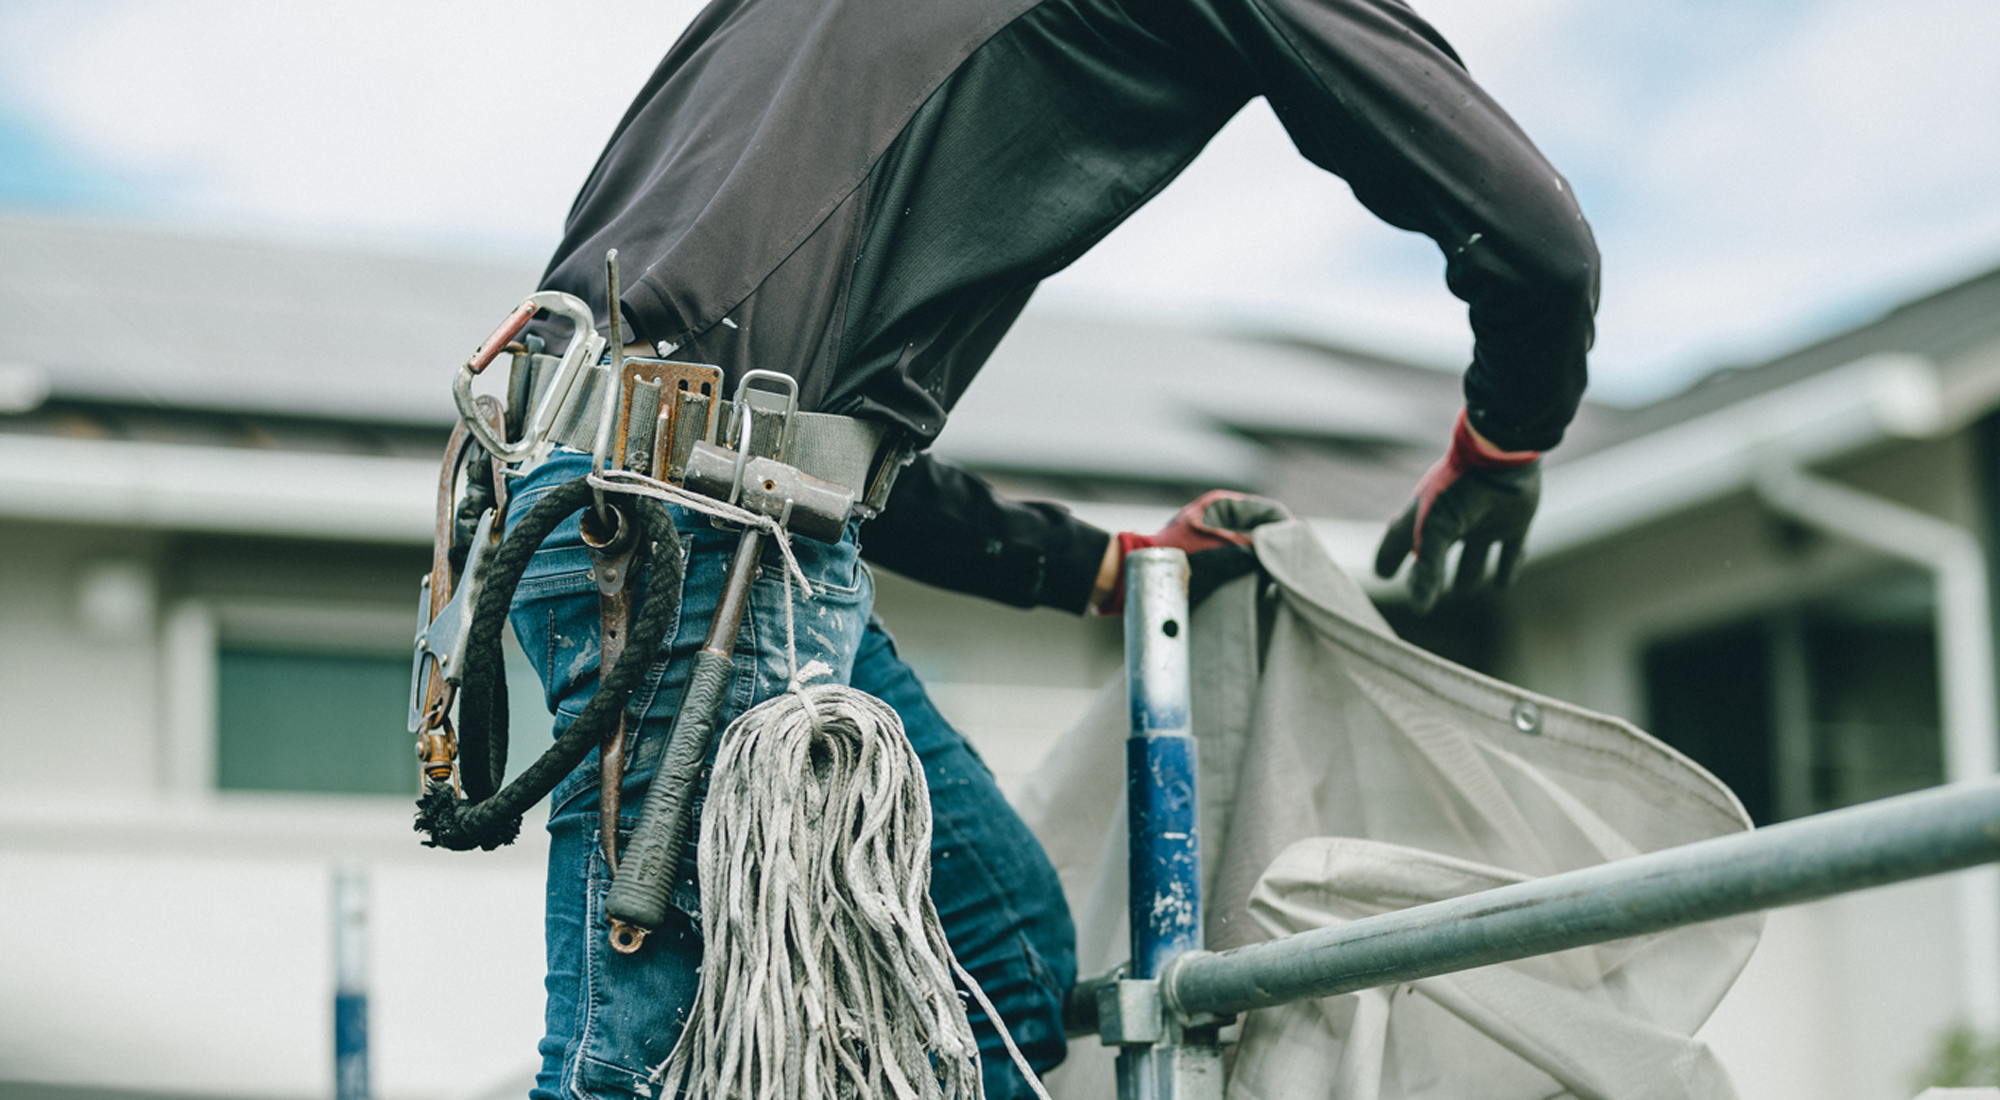
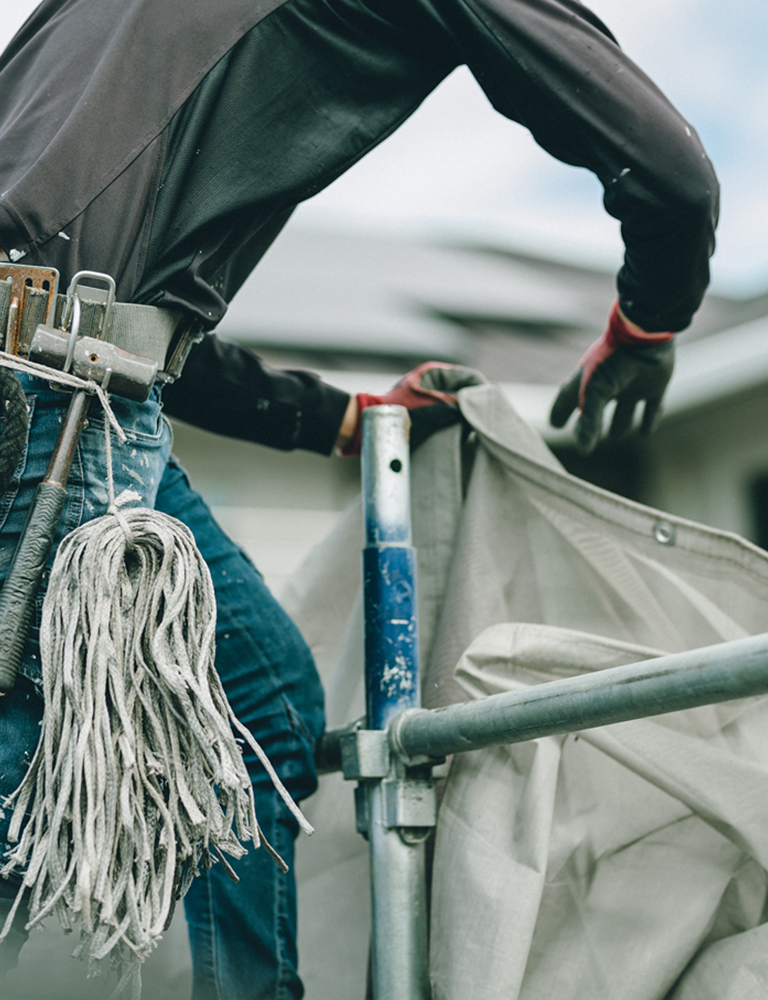
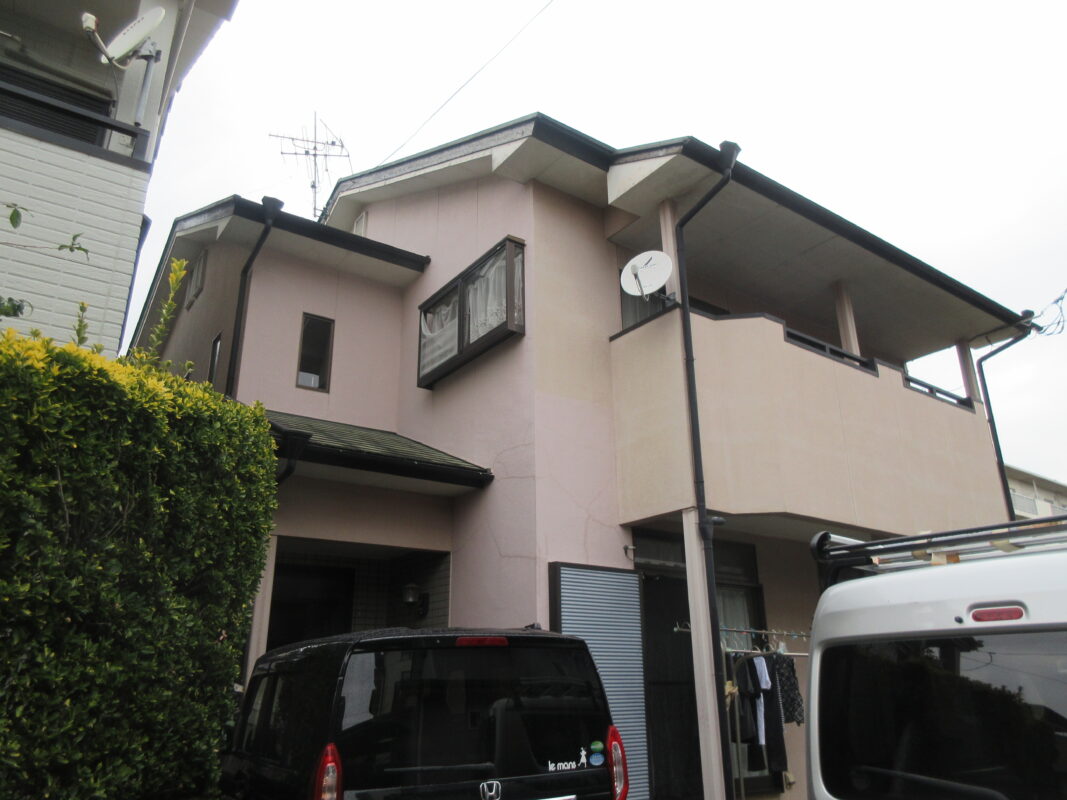
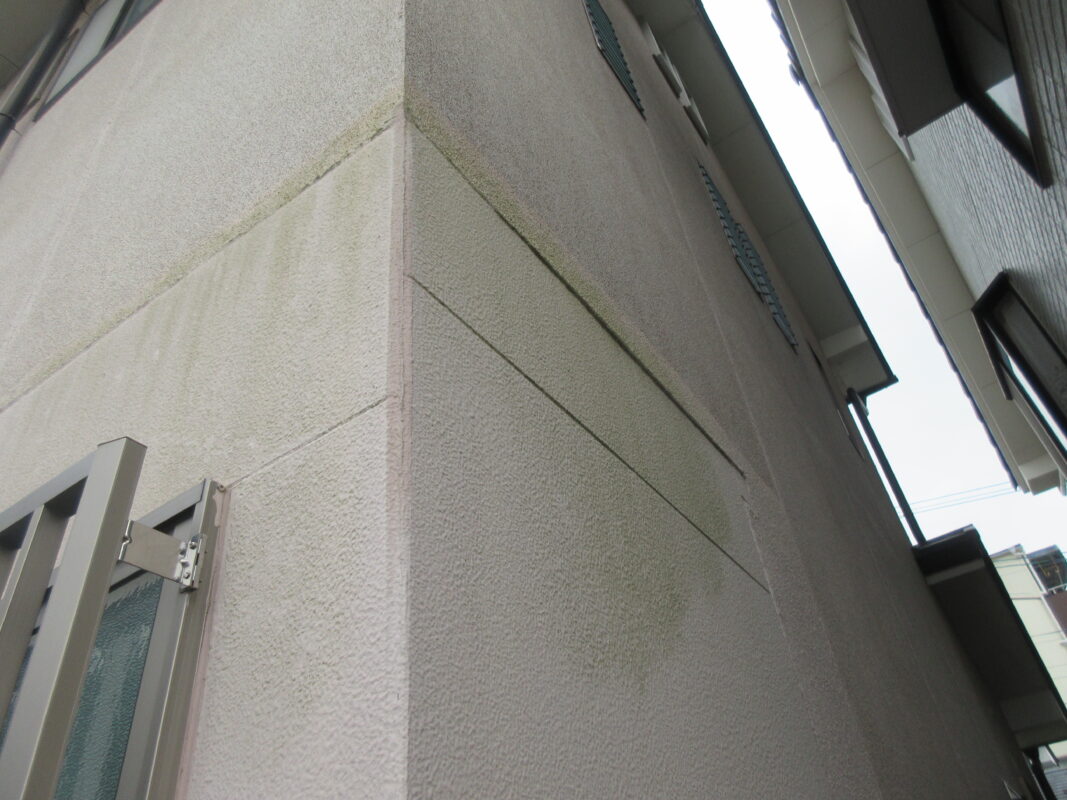
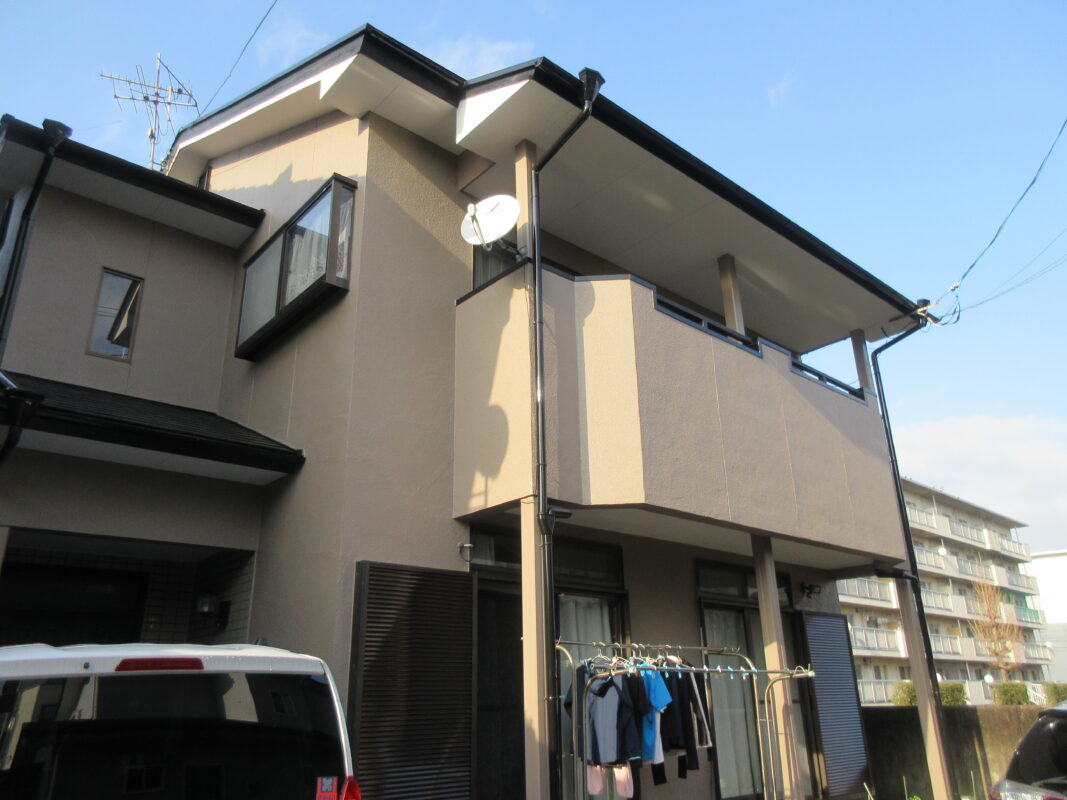
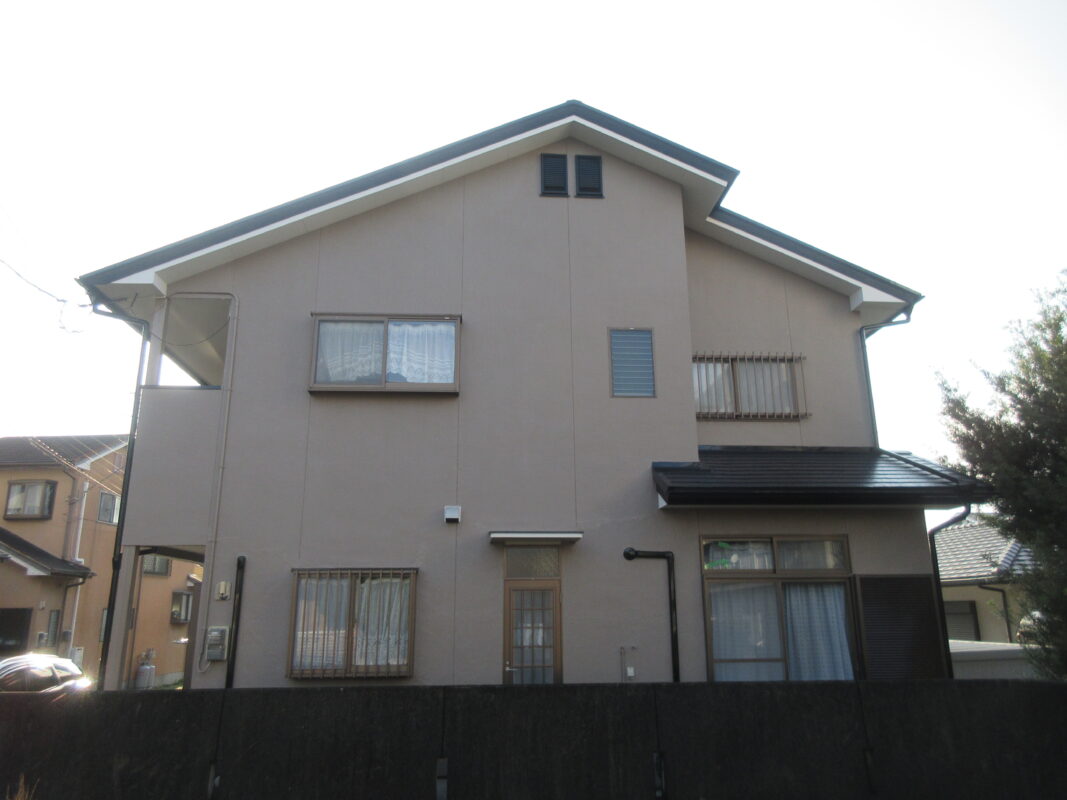
今回は外壁のひび割れと雨漏りが気になるとの事でお伺いしました。
![](https://tatemono-kankyou.com/blog/wp-content/uploads/2024/02/IMG_1547-1067x800.jpg)
![](https://tatemono-kankyou.com/blog/wp-content/uploads/2024/02/IMG_1551-1067x800.jpg)
![](https://tatemono-kankyou.com/blog/wp-content/uploads/2024/02/IMG_1568-1067x800.jpg)
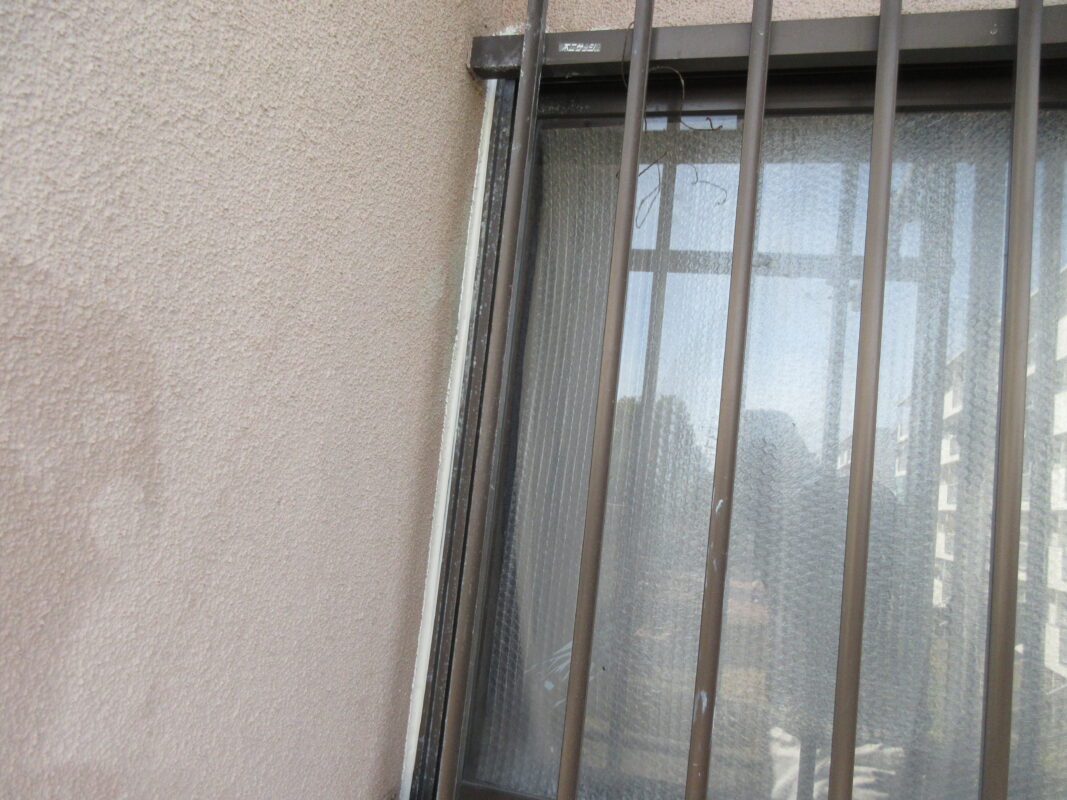
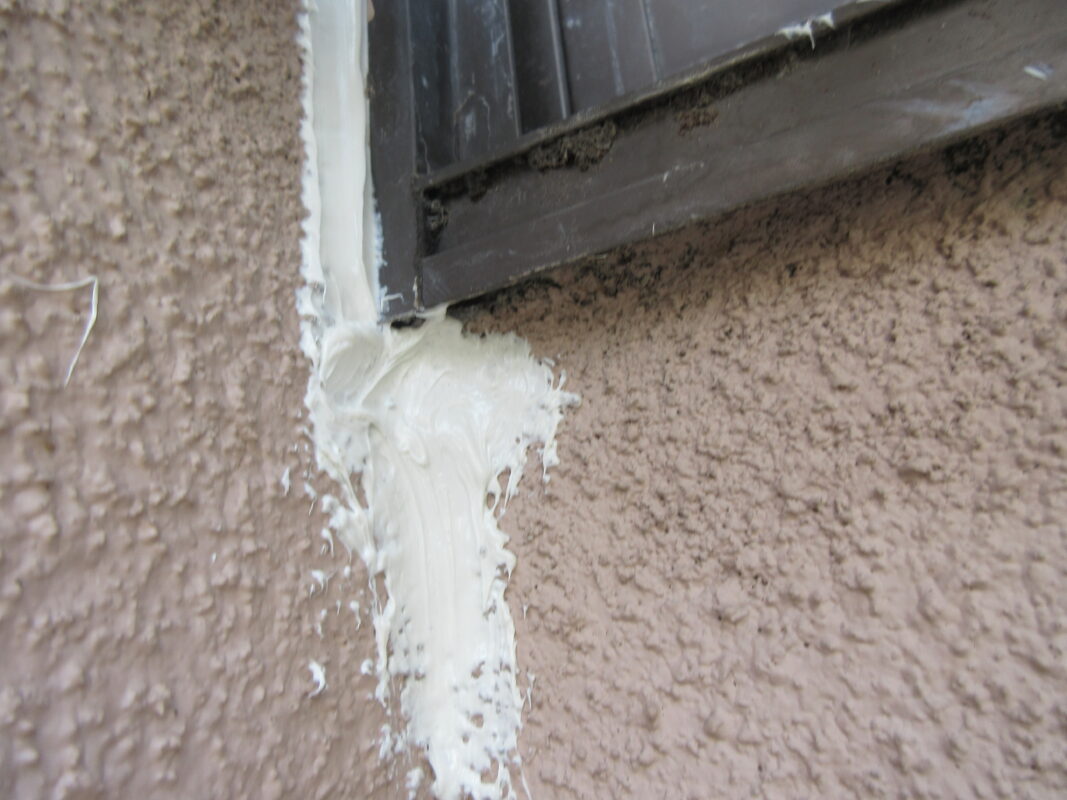
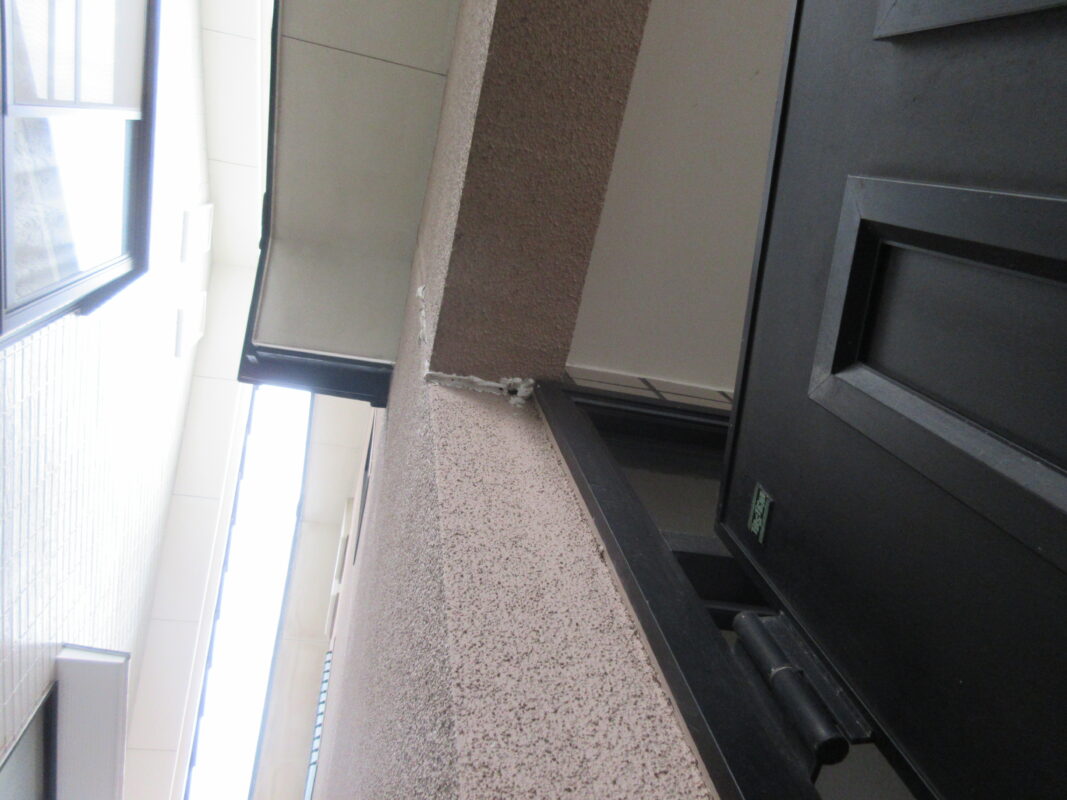
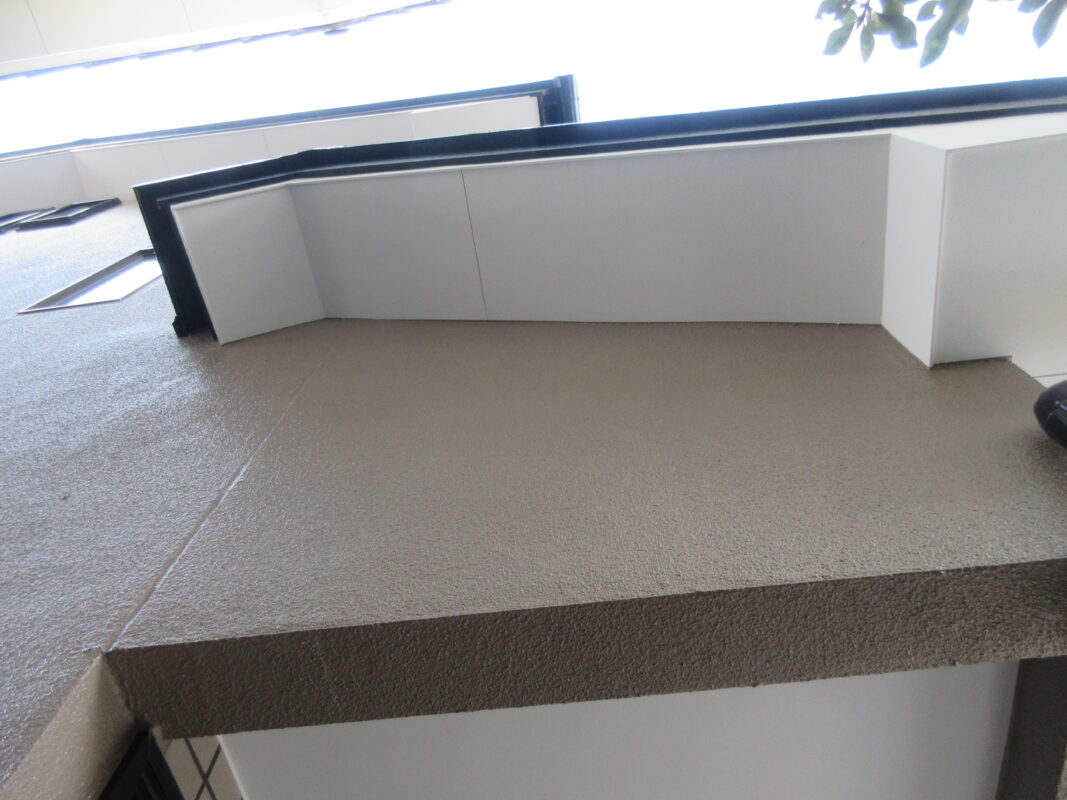
以前は屋根の一部(下屋)に天窓があったみたいですが雨漏りが原因で天窓を撤去したみたいですが変わらずシミが出るとの事でした。下屋に昇ってみますが特に問題はなさそうに思えましたが実は窓廻りに隙間が出来ていてそこから雨水が侵入してました。隙間はコーキングで綺麗に埋めたため雨漏りの心配は無くなりそうです。
![](https://tatemono-kankyou.com/blog/wp-content/uploads/2024/02/IMG_2539-1067x800.jpg)
![](https://tatemono-kankyou.com/blog/wp-content/uploads/2024/02/IMG_2542-1067x800.jpg)
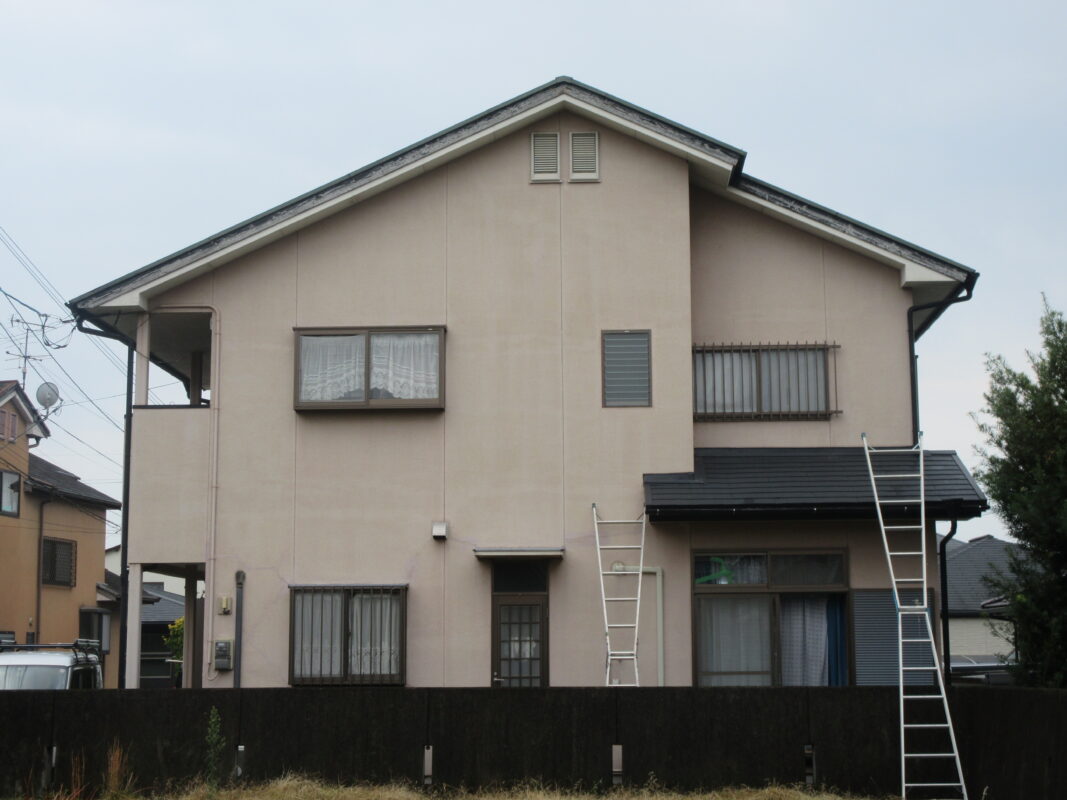
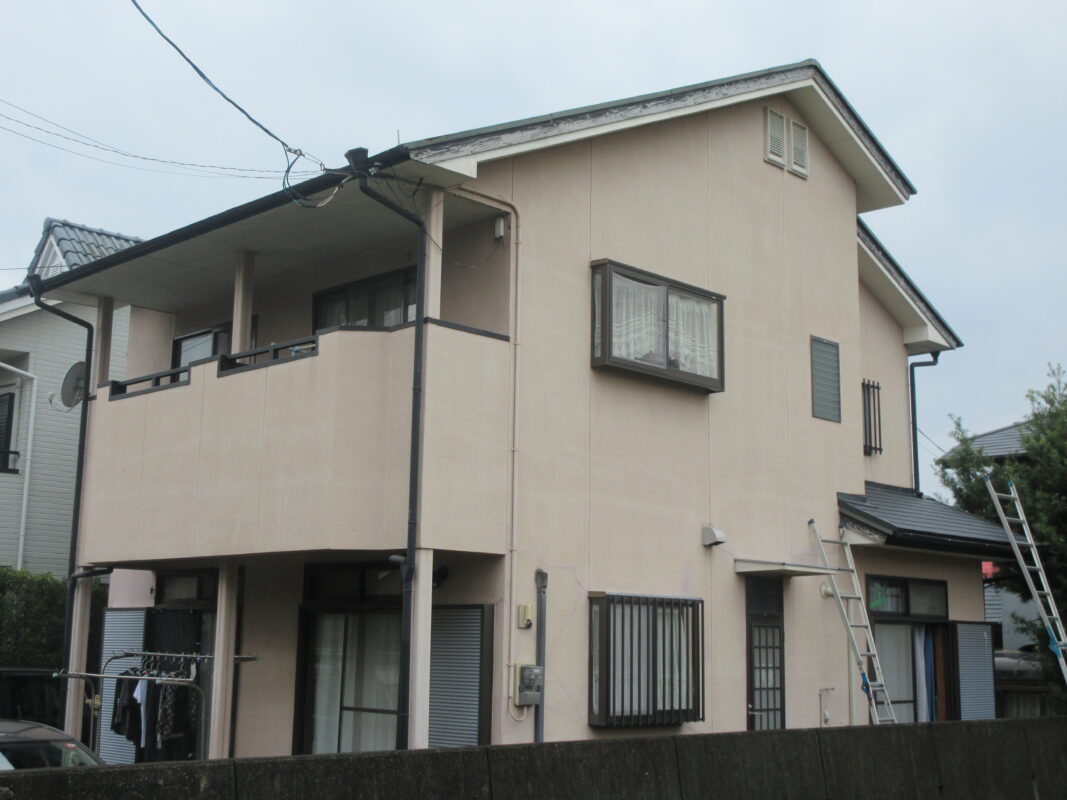
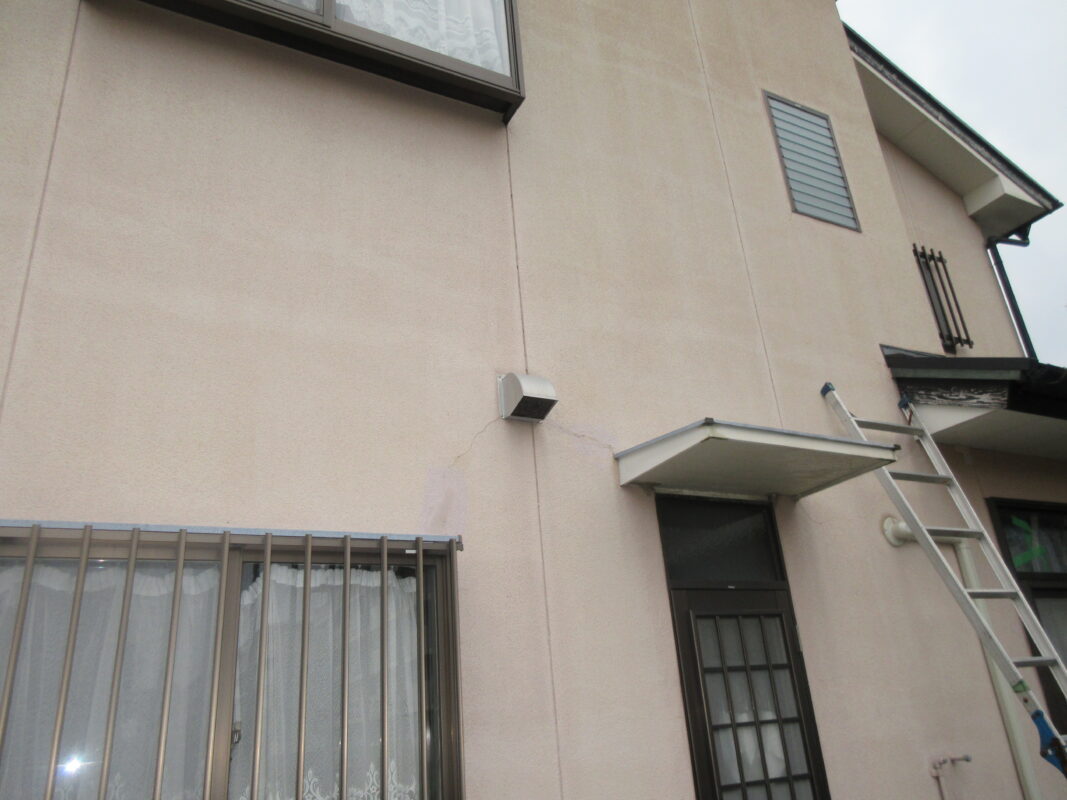
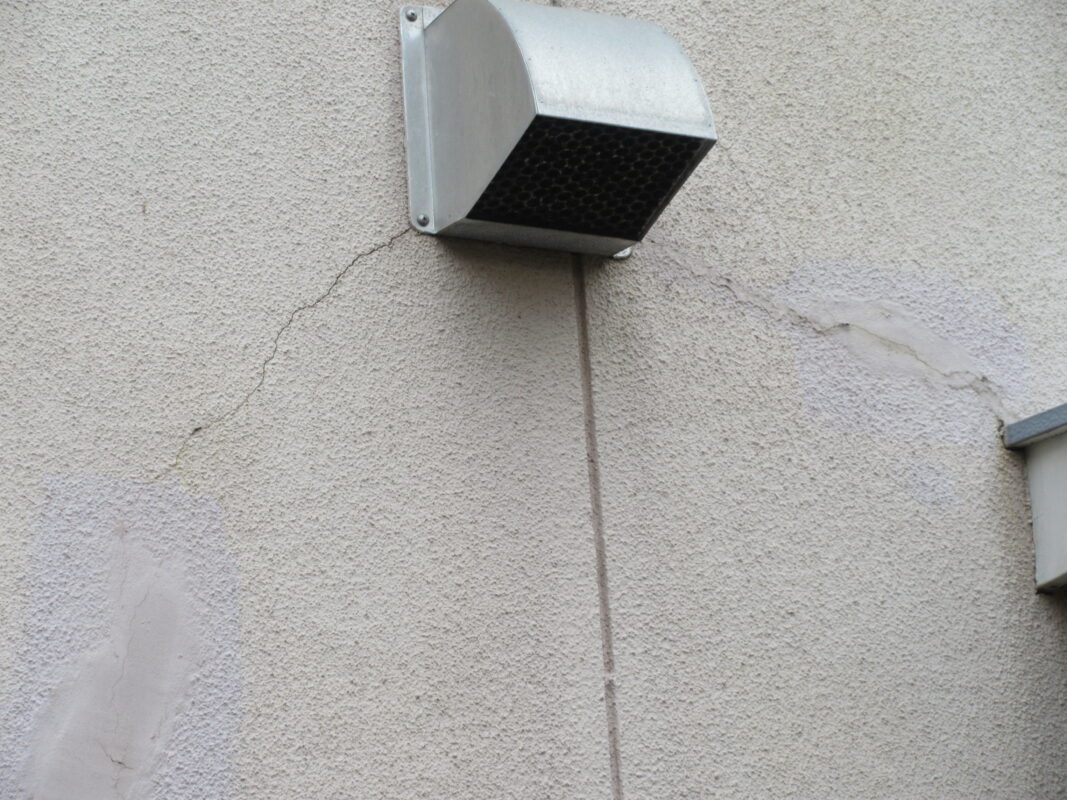
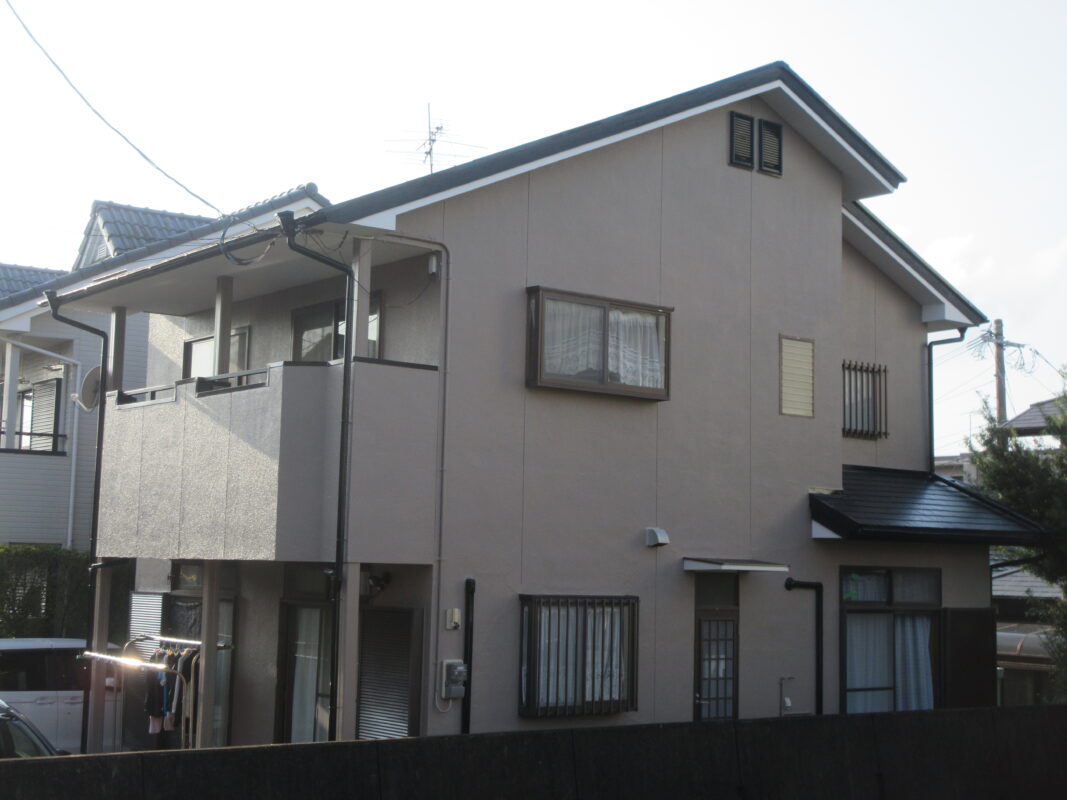
外壁や屋根はやはりひび割れがひどく色落ちもところどころ確認出来ました。
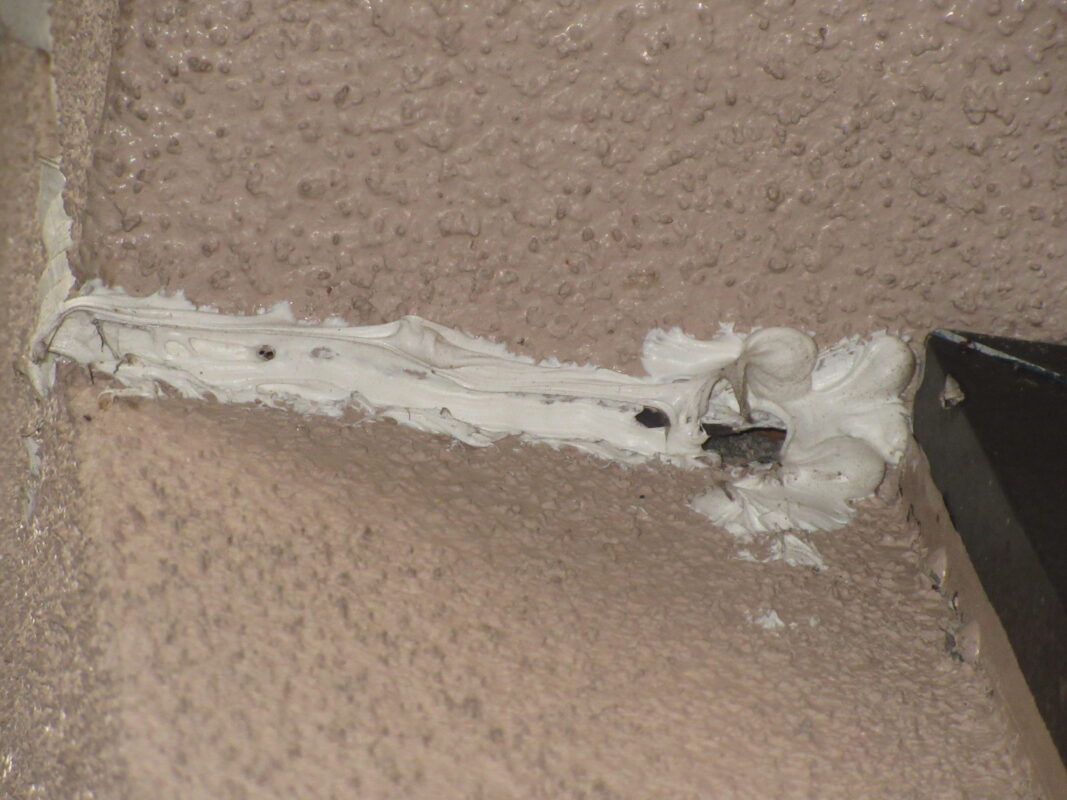
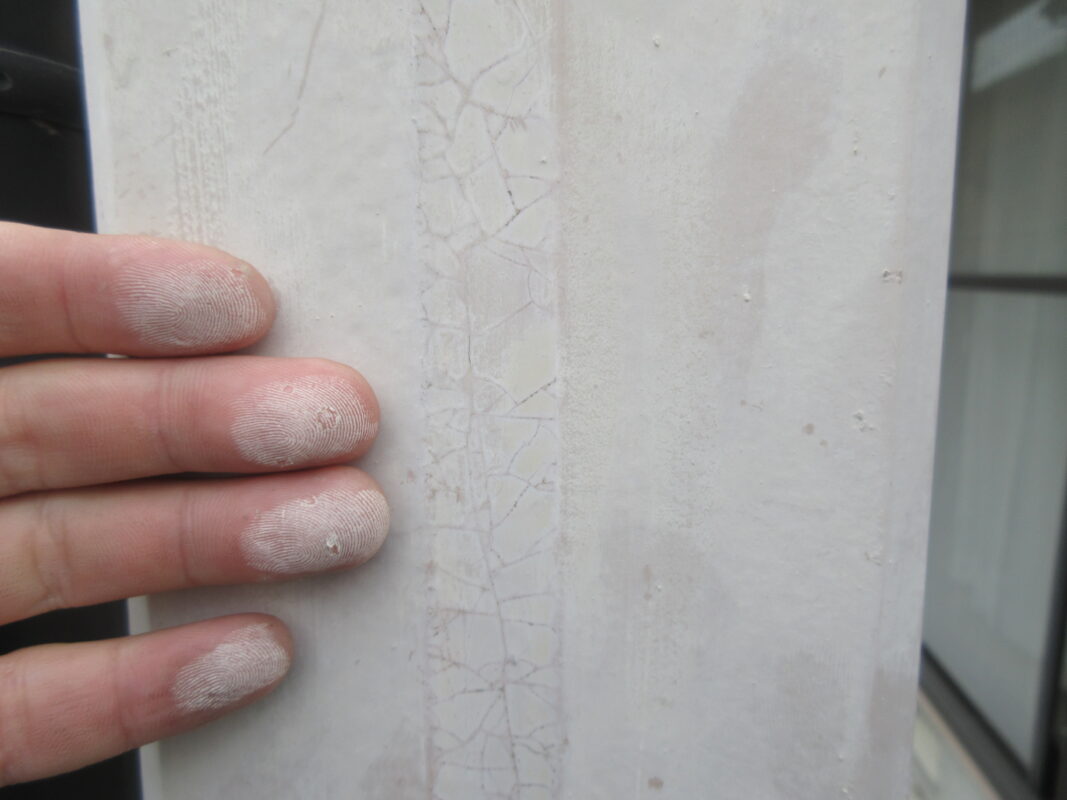
震災でのひび割れや経年劣化によるひび割れが多いですね。一応コーキングもされてるみたいですが
少し隙間が見てしまっていますね。
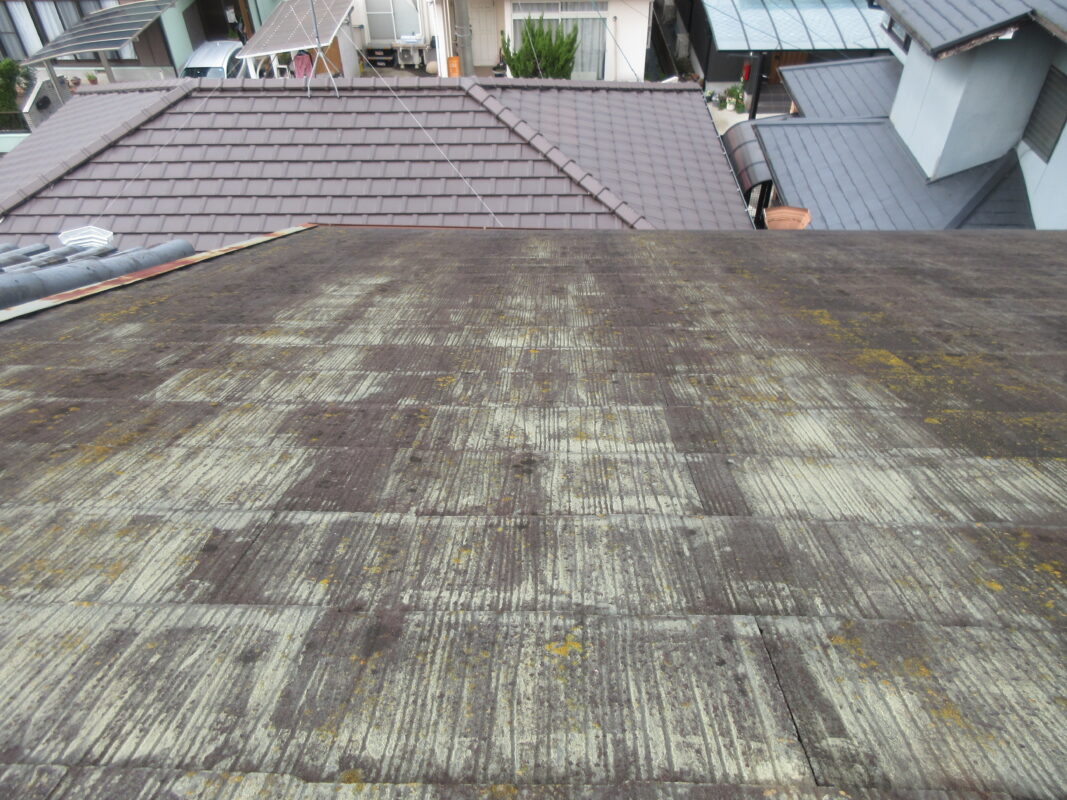
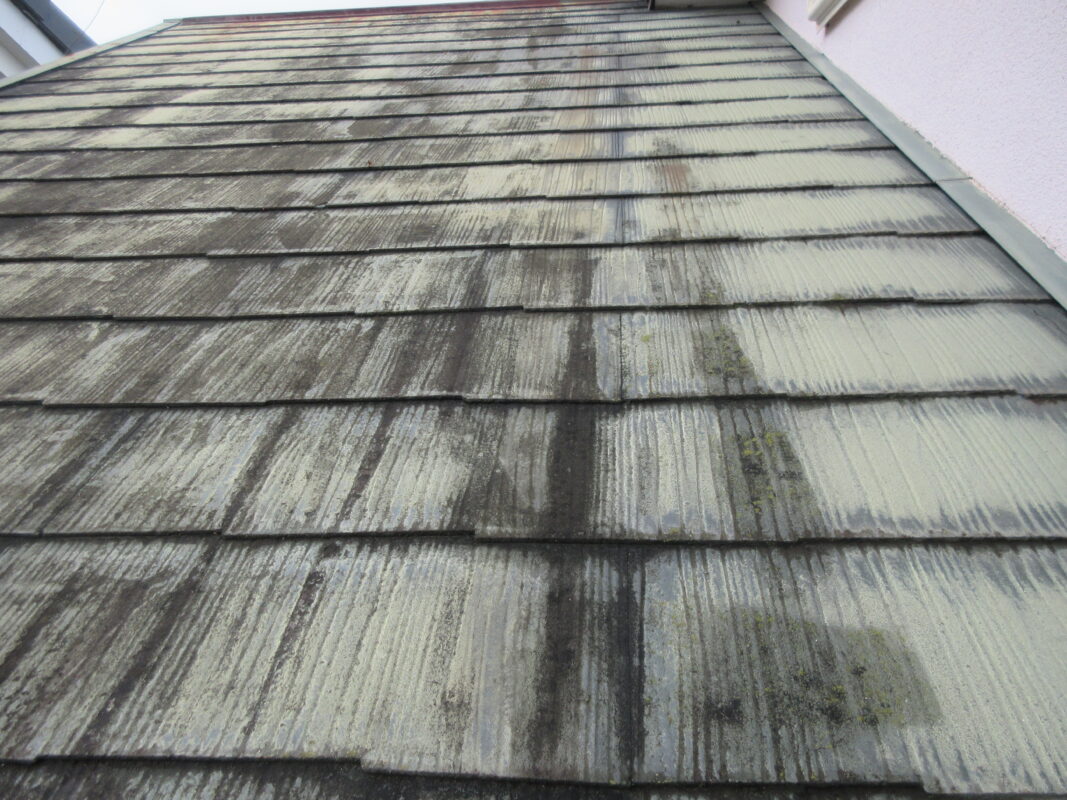
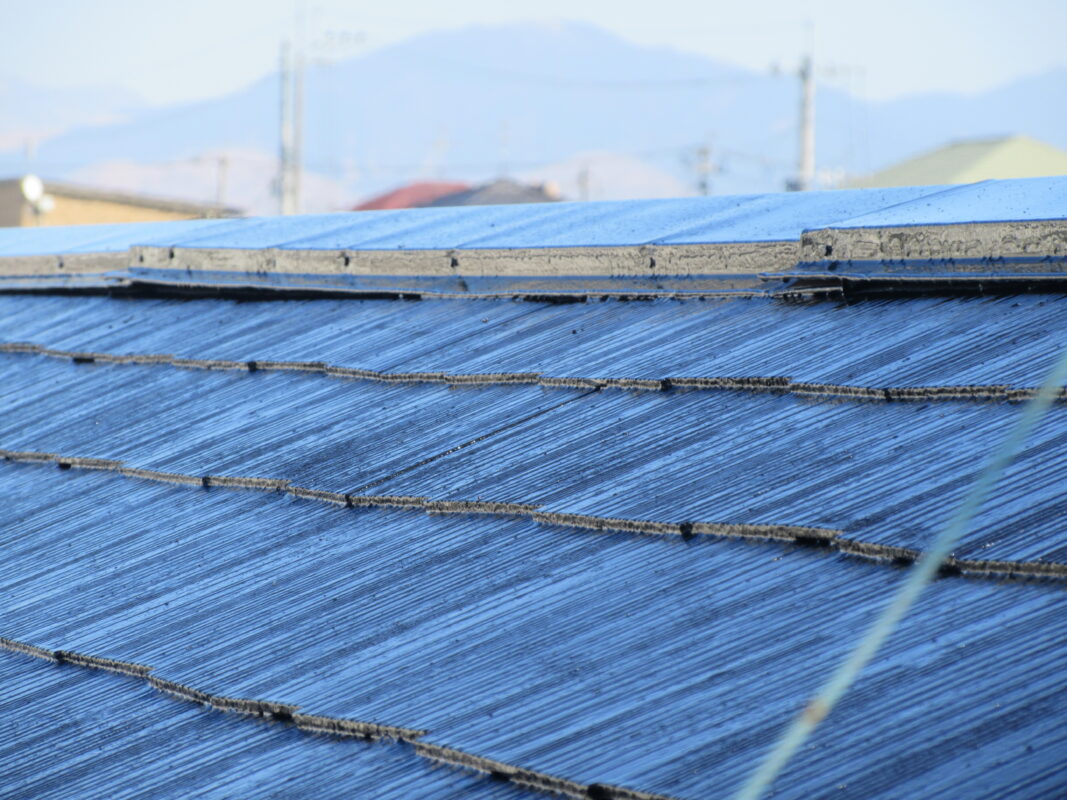
屋根も塗膜が剥がれ苔や汚れがついていて防水機能は皆無ですね。
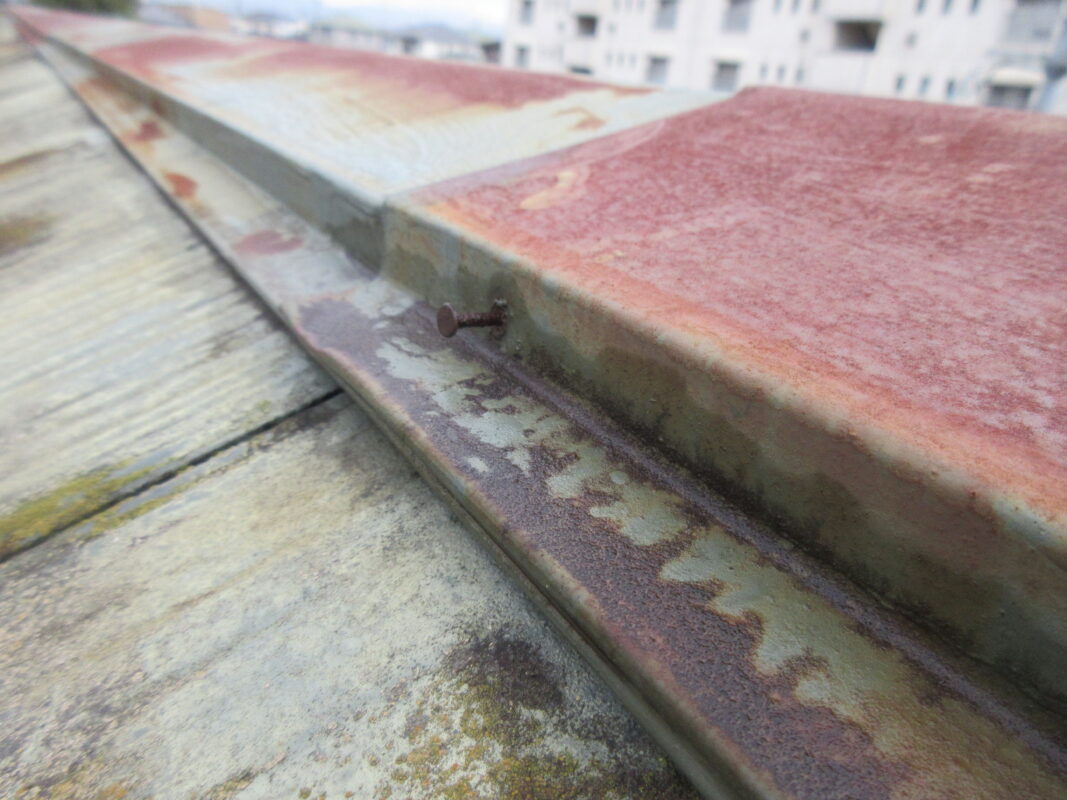
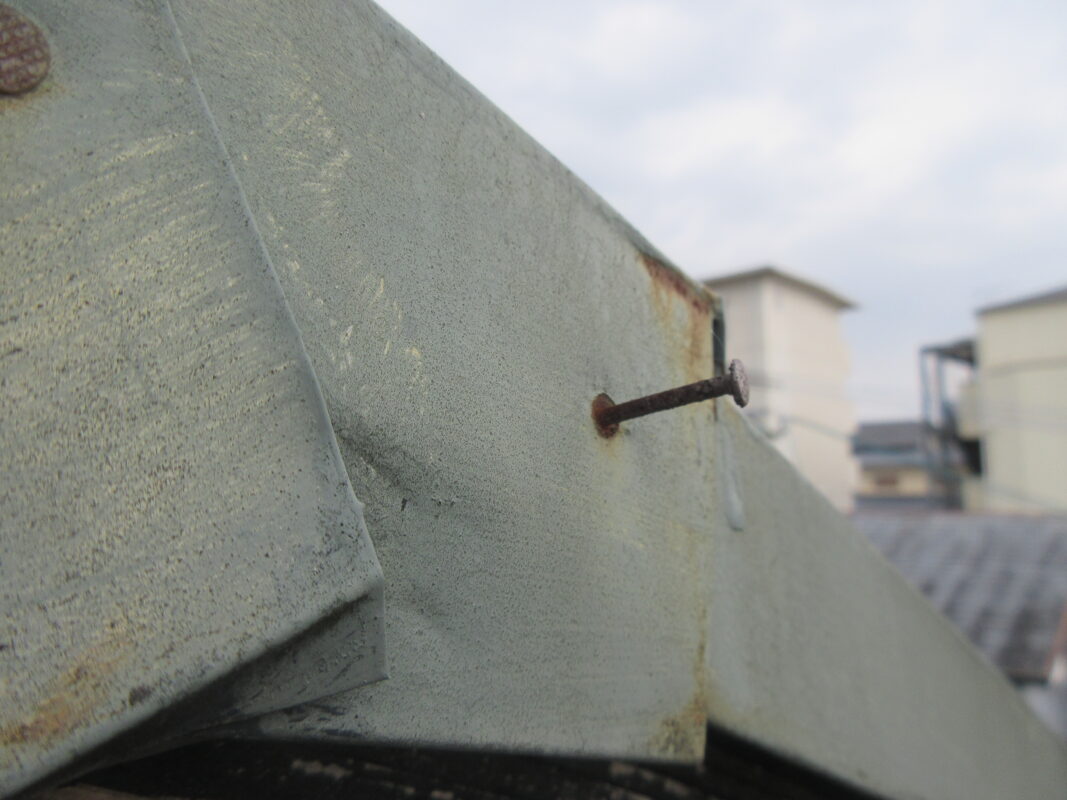
棟板金もよく見てみると釘が浮いて見えます。1本2本なら問題はなさそうですが多数抜けていたり浮いていた為これもしっかり戻さないと台風などで剥がれ飛んでご近所の家や車にぶつけてしまうケースも少なくないです。
![](https://tatemono-kankyou.com/blog/wp-content/uploads/2024/02/IMG_1552-1067x800.jpg)
![](https://tatemono-kankyou.com/blog/wp-content/uploads/2024/02/IMG_1553-1067x800.jpg)
![](https://tatemono-kankyou.com/blog/wp-content/uploads/2024/02/IMG_1560-1067x800.jpg)
![](https://tatemono-kankyou.com/blog/wp-content/uploads/2024/02/IMG_1575-1067x800.jpg)
![](https://tatemono-kankyou.com/blog/wp-content/uploads/2024/02/IMG_1576-1067x800.jpg)
![](https://tatemono-kankyou.com/blog/wp-content/uploads/2024/02/IMG_1584-1067x800.jpg)
![](https://tatemono-kankyou.com/blog/wp-content/uploads/2024/02/IMG_1590-1067x800.jpg)
![](https://tatemono-kankyou.com/blog/wp-content/uploads/2024/02/IMG_1598-1067x800.jpg)
![](https://tatemono-kankyou.com/blog/wp-content/uploads/2024/02/IMG_1601-1067x800.jpg)
![](https://tatemono-kankyou.com/blog/wp-content/uploads/2024/02/IMG_1603-1067x800.jpg)
![](https://tatemono-kankyou.com/blog/wp-content/uploads/2024/02/IMG_1617-1067x800.jpg)
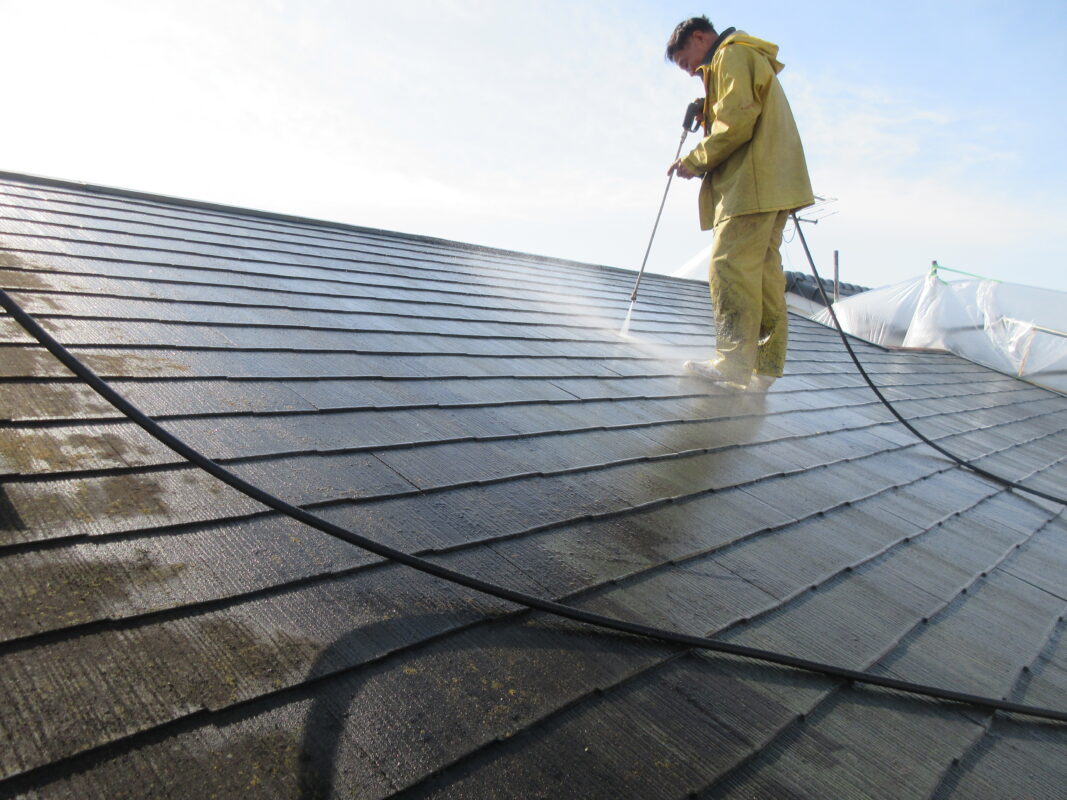
施工としては、塗装は初めに高圧洗浄で必ず既存の古くなった塗膜や苔・よごれをきれいに落としていきます。
この作業をしないと古い塗膜の上に新しく塗装しても内側から劣化していき新しい塗膜も一緒に浮いてしまうからです。
![](https://tatemono-kankyou.com/blog/wp-content/uploads/2024/02/IMG_2482-1067x800.jpg)
洗浄で取り除けない部分は手作業でケレンしていきます。
次にするのは下地補修になります。ひび割れで出来た隙間を埋めたりして塗装をきれいに仕上げる為の作業になります。
![](https://tatemono-kankyou.com/blog/wp-content/uploads/2024/02/IMG_2543-1067x800.jpg)
![](https://tatemono-kankyou.com/blog/wp-content/uploads/2024/02/IMG_2545-1067x800.jpg)
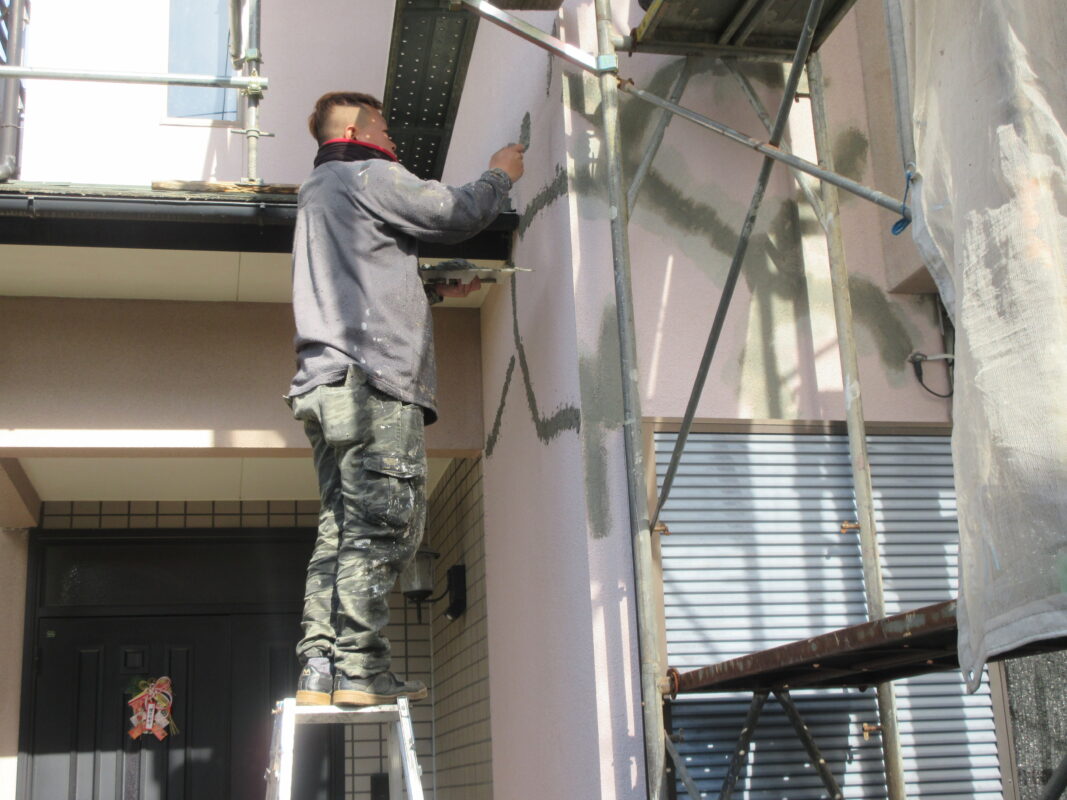
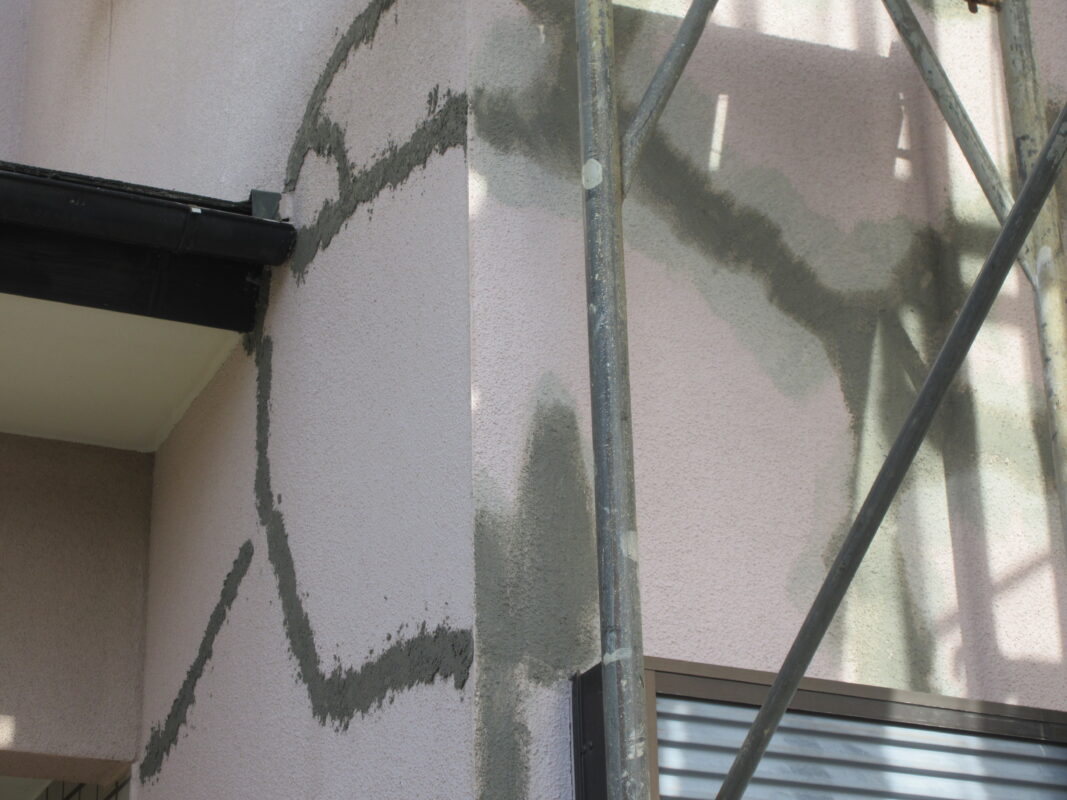
こうしてみると目には見えないひび割れがたくさんありますね。
次に塗装の下塗り・中塗り・上塗りの三度塗りで綺麗に仕上げていきます。
![](https://tatemono-kankyou.com/blog/wp-content/uploads/2024/02/IMG_2772-1067x800.jpg)
![](https://tatemono-kankyou.com/blog/wp-content/uploads/2024/02/IMG_2776-1067x800.jpg)
![](https://tatemono-kankyou.com/blog/wp-content/uploads/2024/02/IMG_2780-1067x800.jpg)
![](https://tatemono-kankyou.com/blog/wp-content/uploads/2024/02/IMG_2794-1067x800.jpg)
![](https://tatemono-kankyou.com/blog/wp-content/uploads/2024/02/IMG_2797-1067x800.jpg)
![](https://tatemono-kankyou.com/blog/wp-content/uploads/2024/02/IMG_2801-1067x800.jpg)
![](https://tatemono-kankyou.com/blog/wp-content/uploads/2024/02/IMG_2804-1067x800.jpg)
![](https://tatemono-kankyou.com/blog/wp-content/uploads/2024/02/IMG_2808-1067x800.jpg)
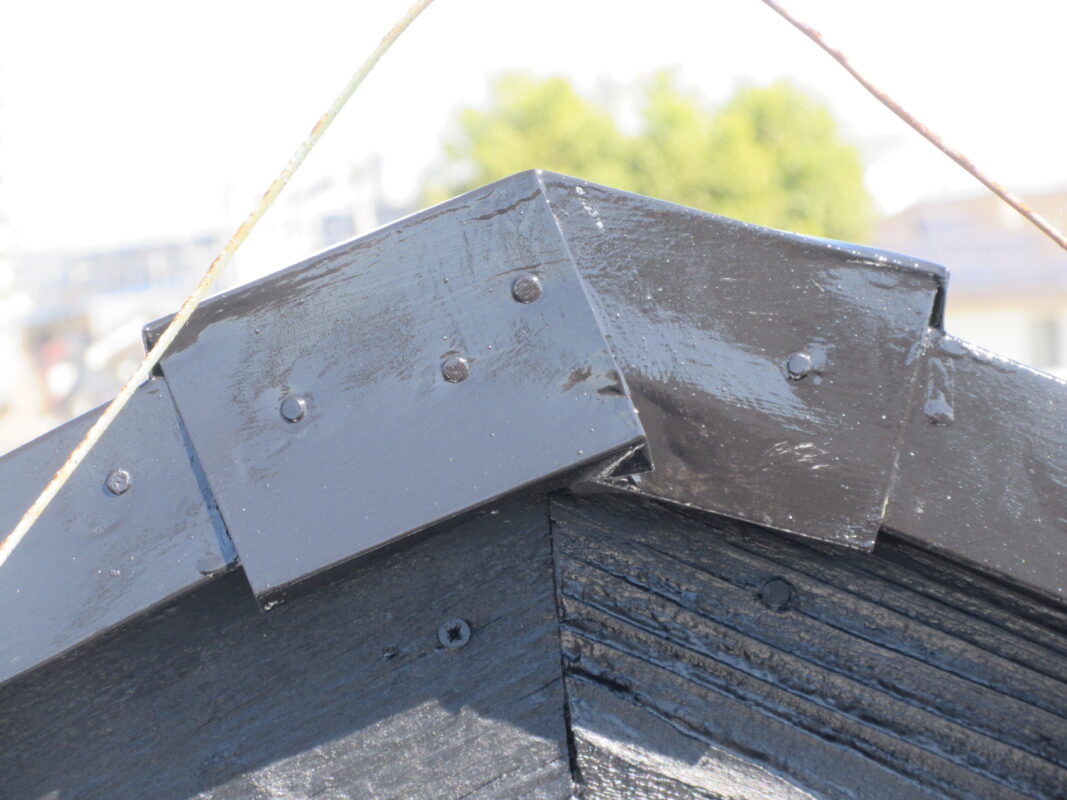
棟板金の浮いたクギもしっかりもどして固定したため安心ですね。