【施工例】屋根壁塗装 屋根タスペーサー施工
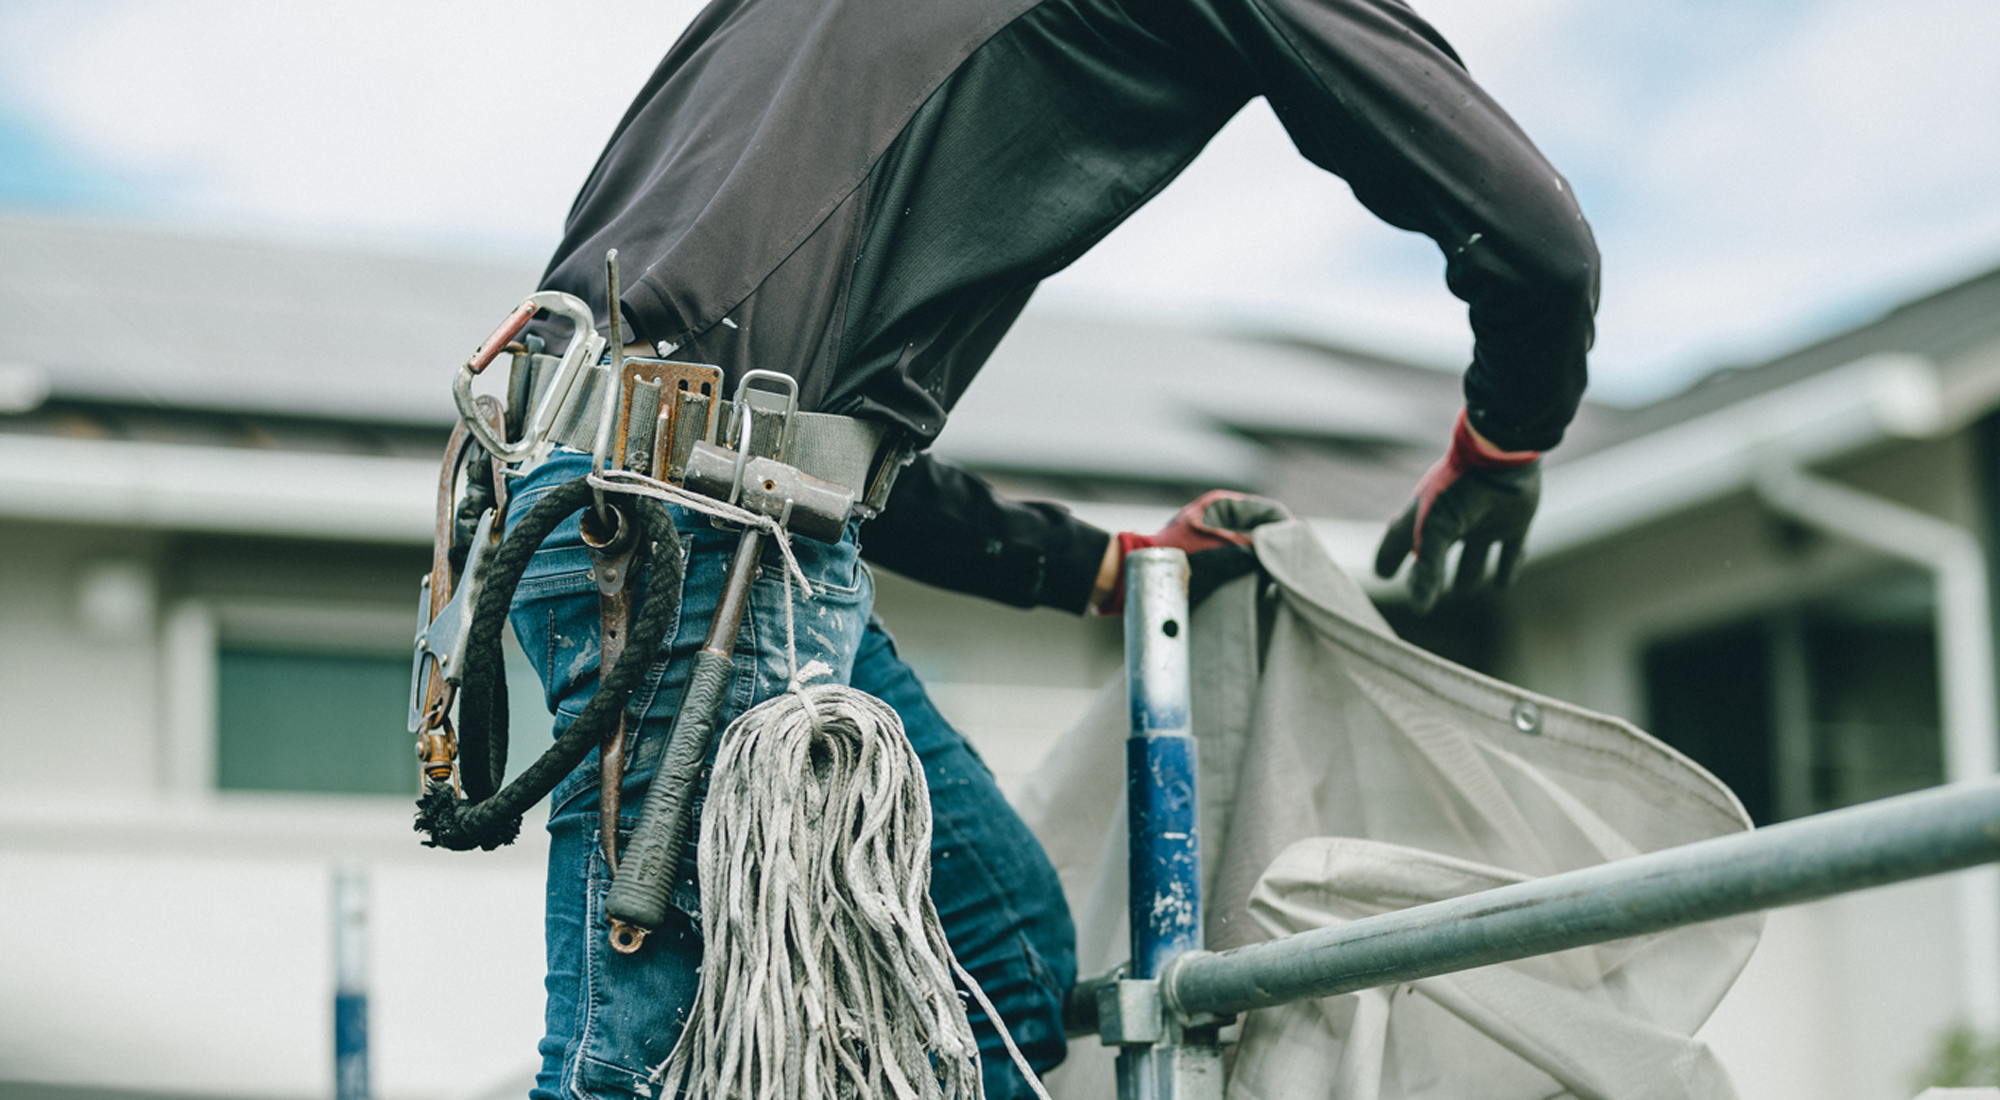
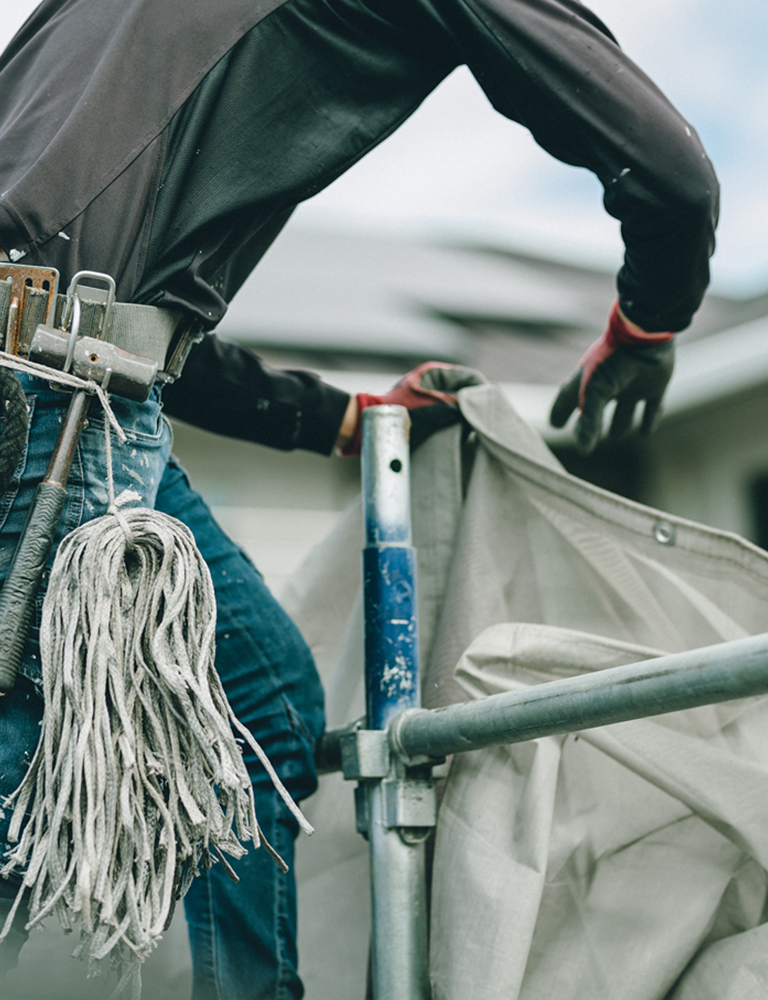
施工例
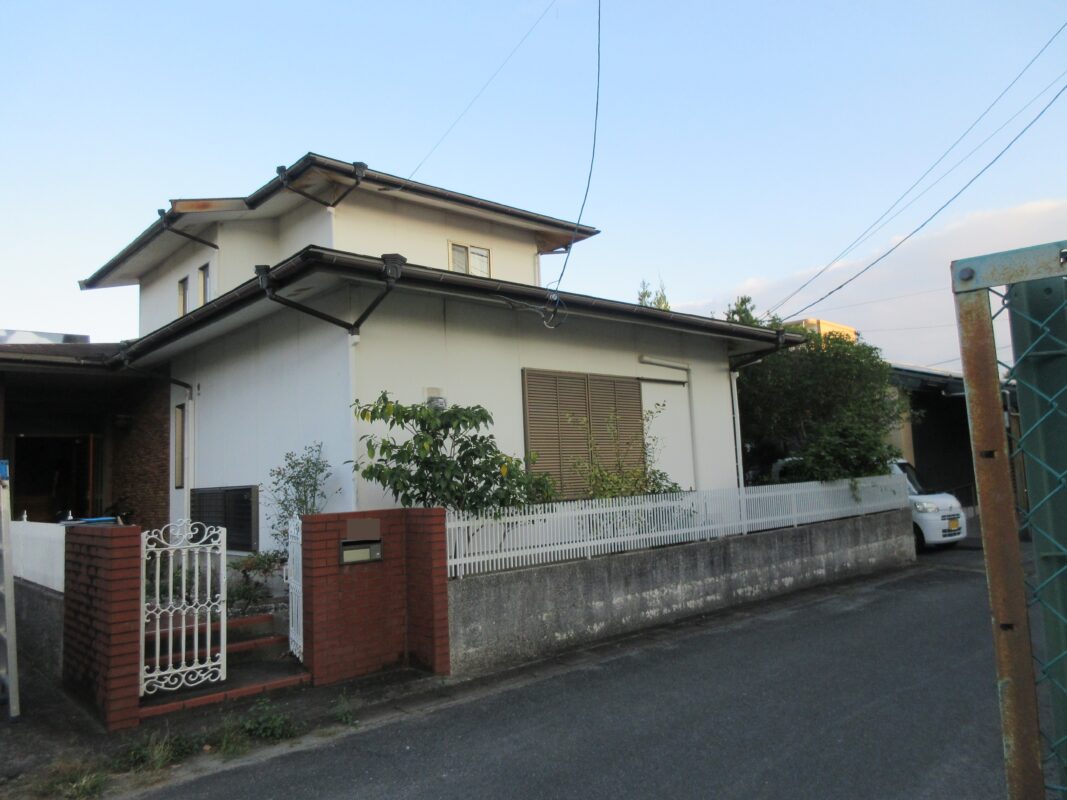
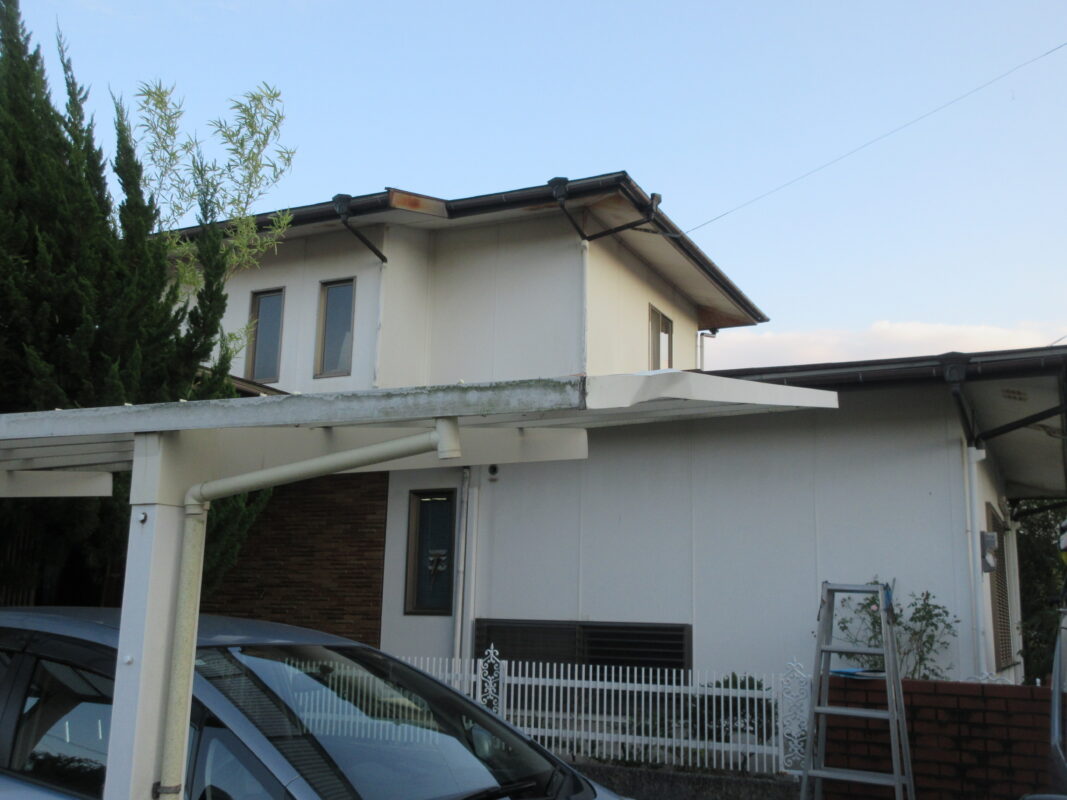
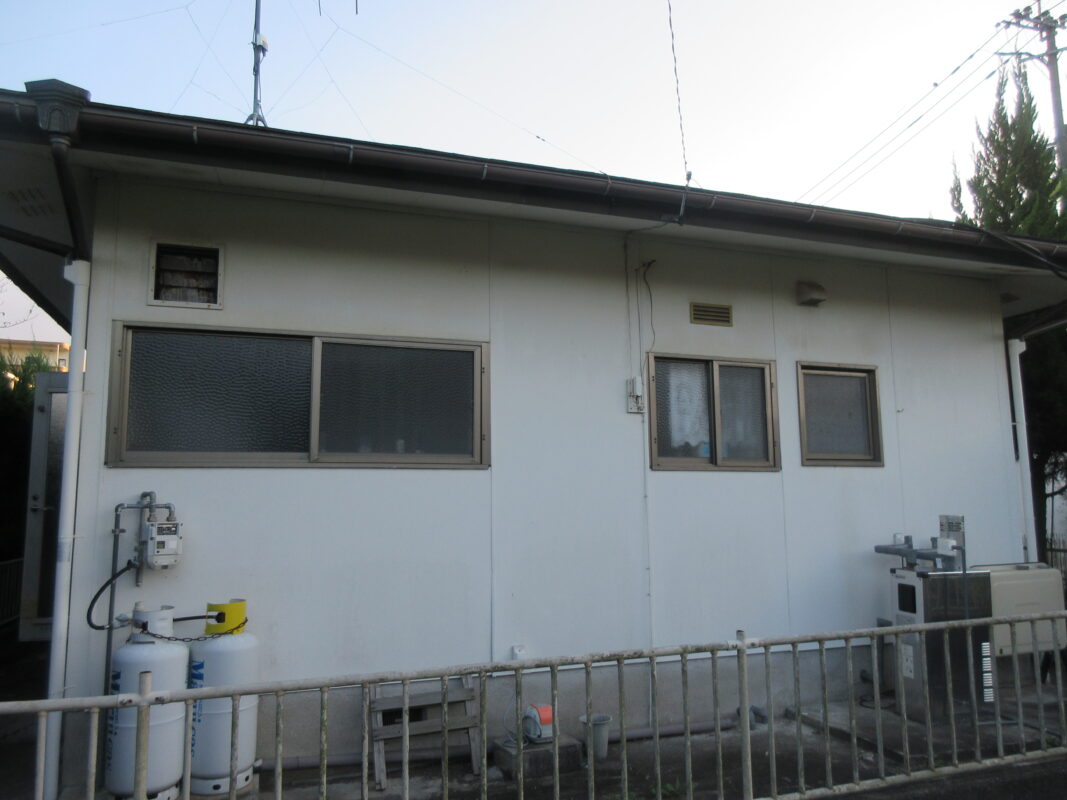
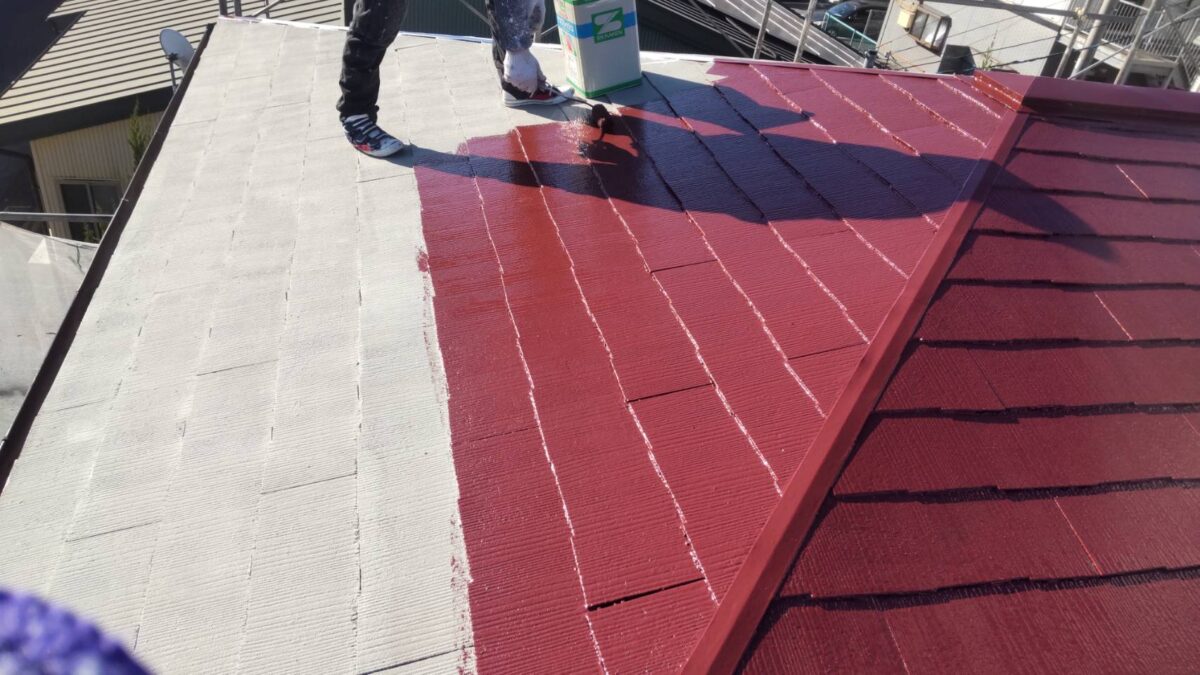
今回は屋根壁の塗装になります。
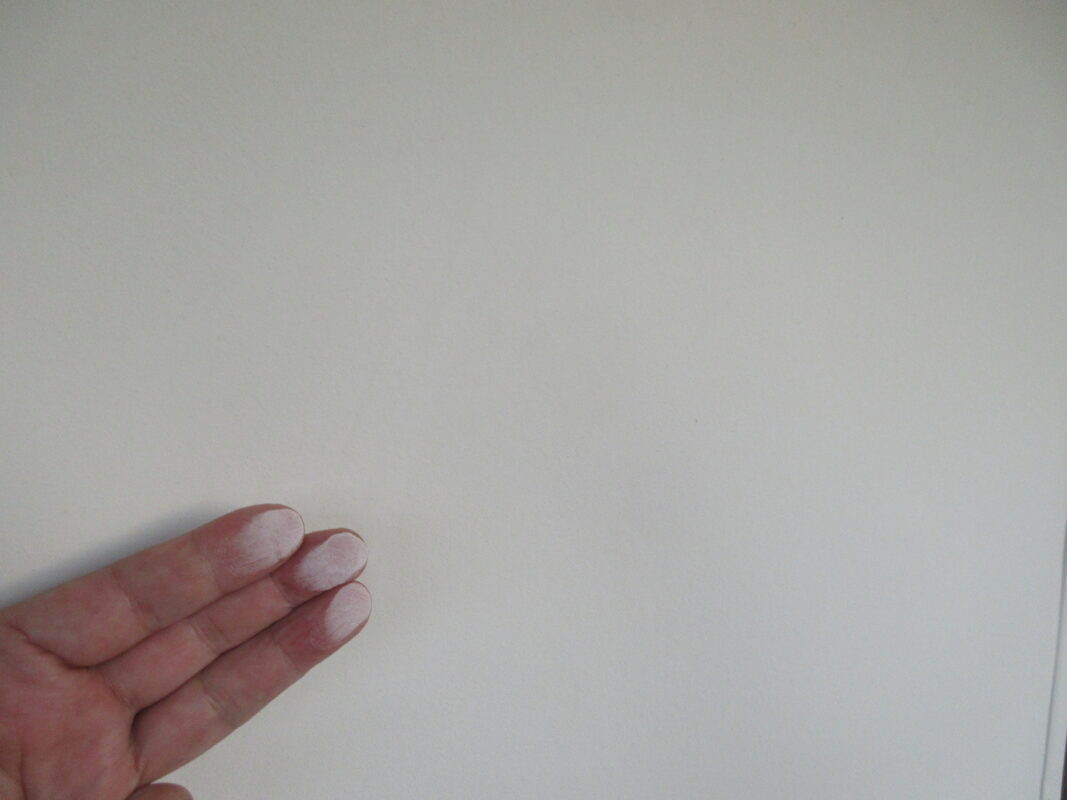
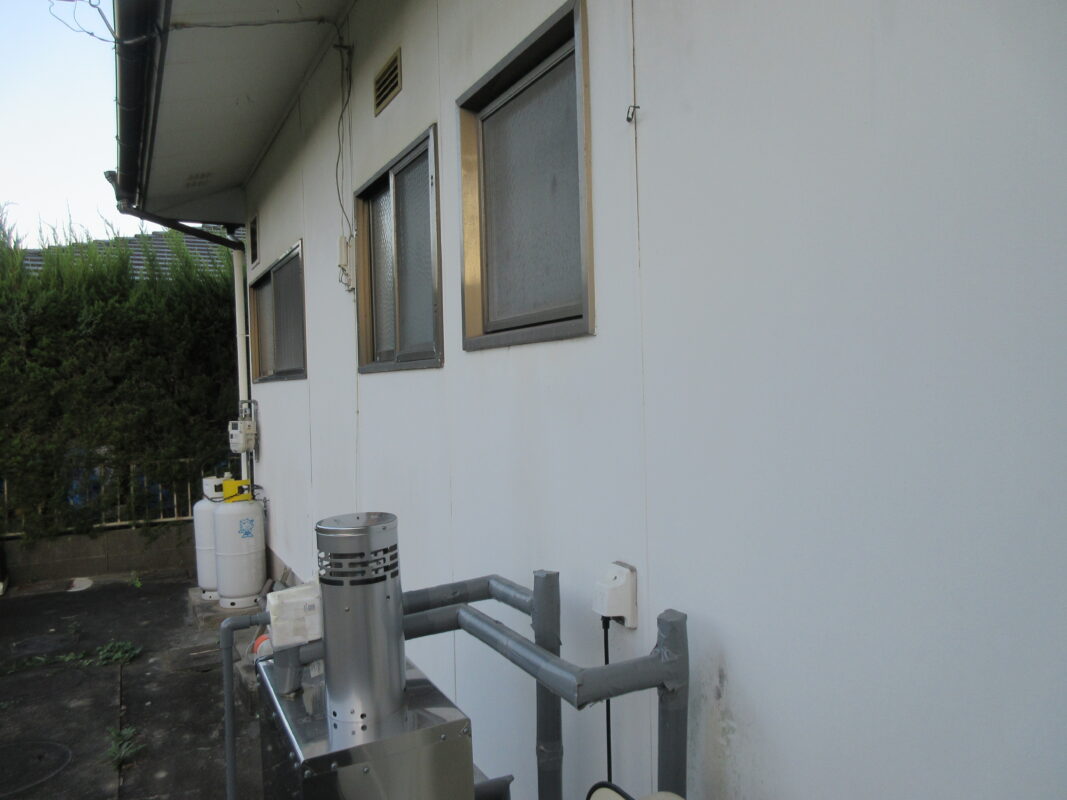
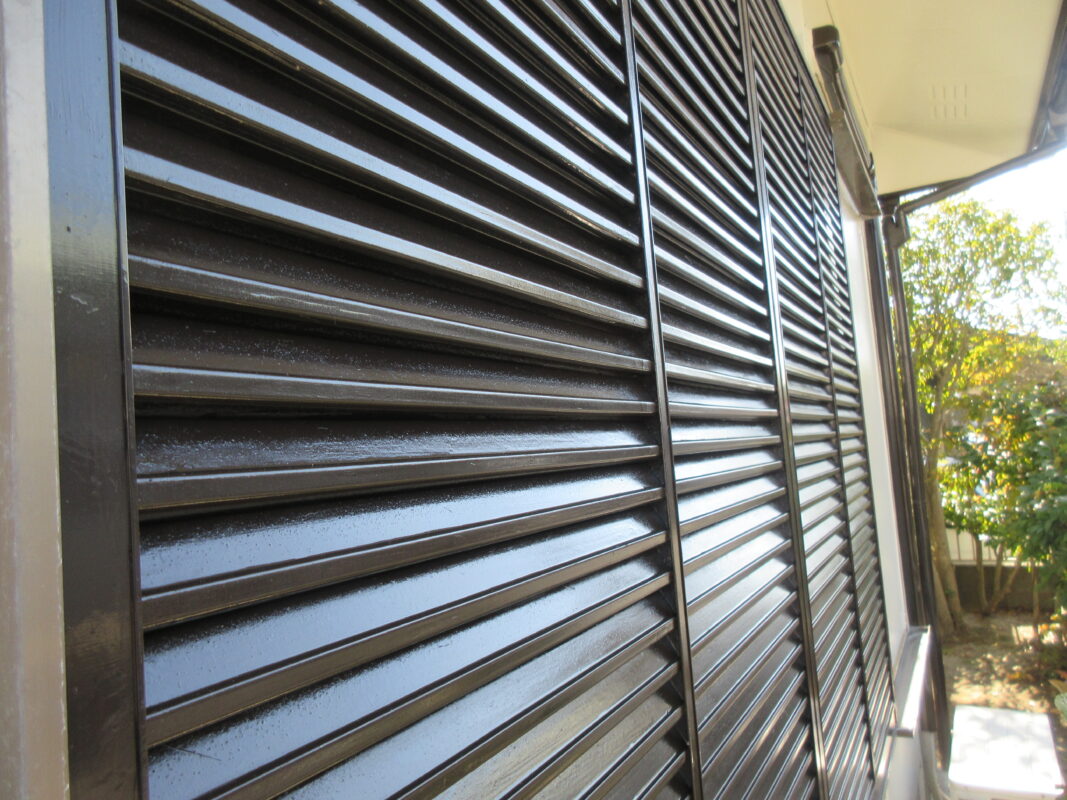
外壁の様子になりますが、遠くから見てもわかりにくいですが手で外壁を触ると手が白くなります。
チョーキング(色落ち)になります。ここまでくると塗装のメンテナンスが必要になりますね。
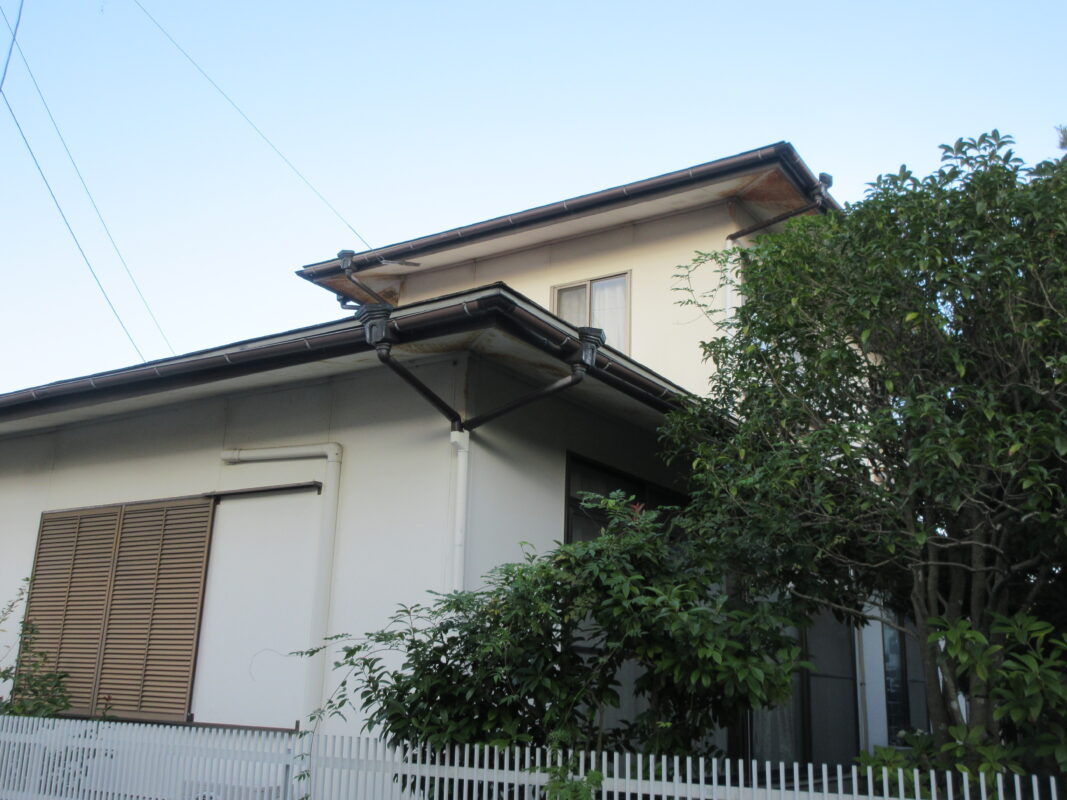
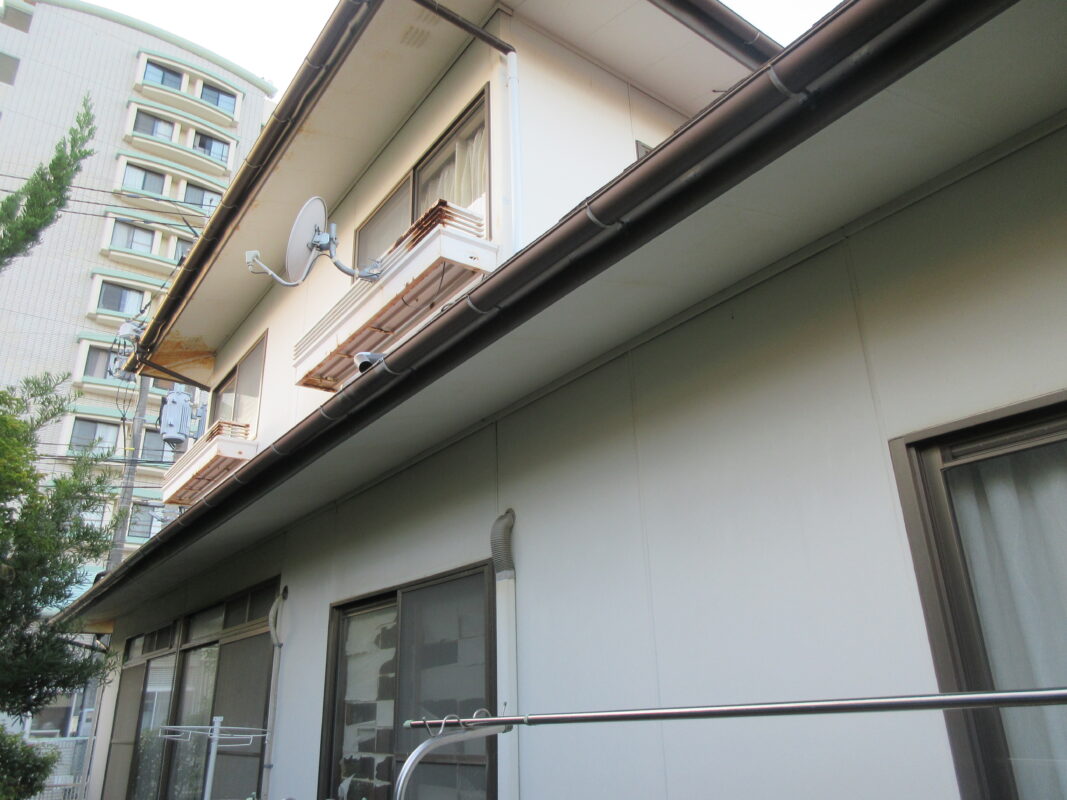
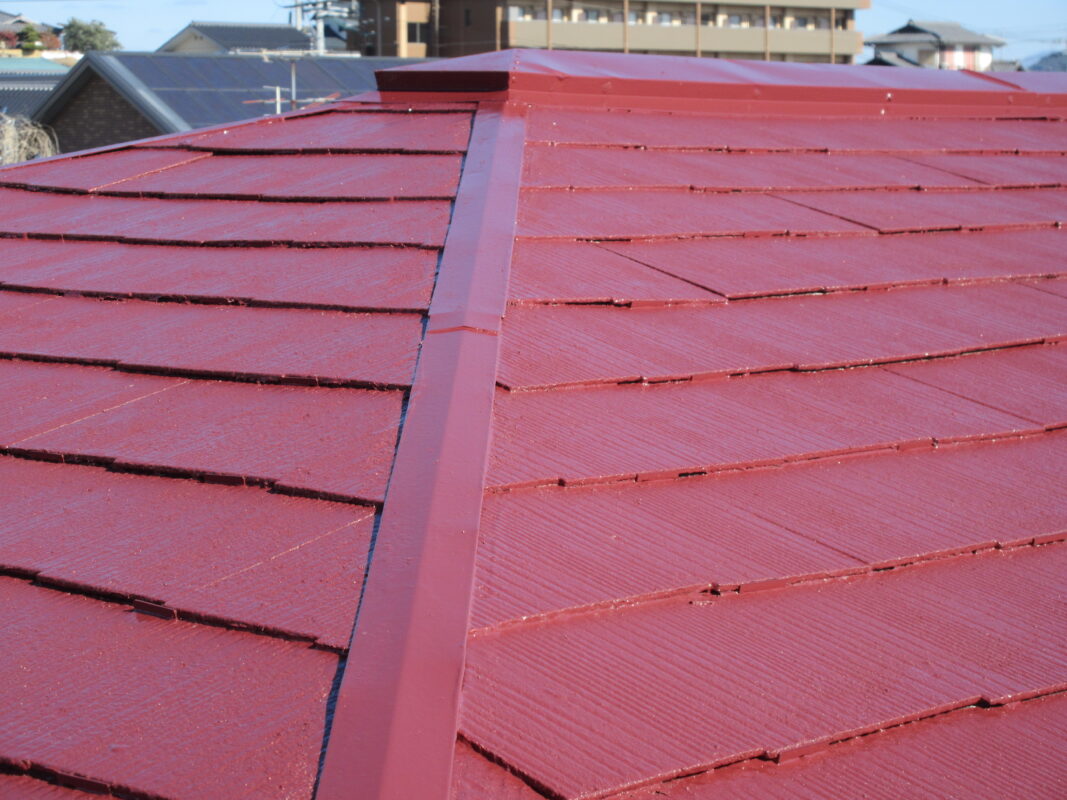
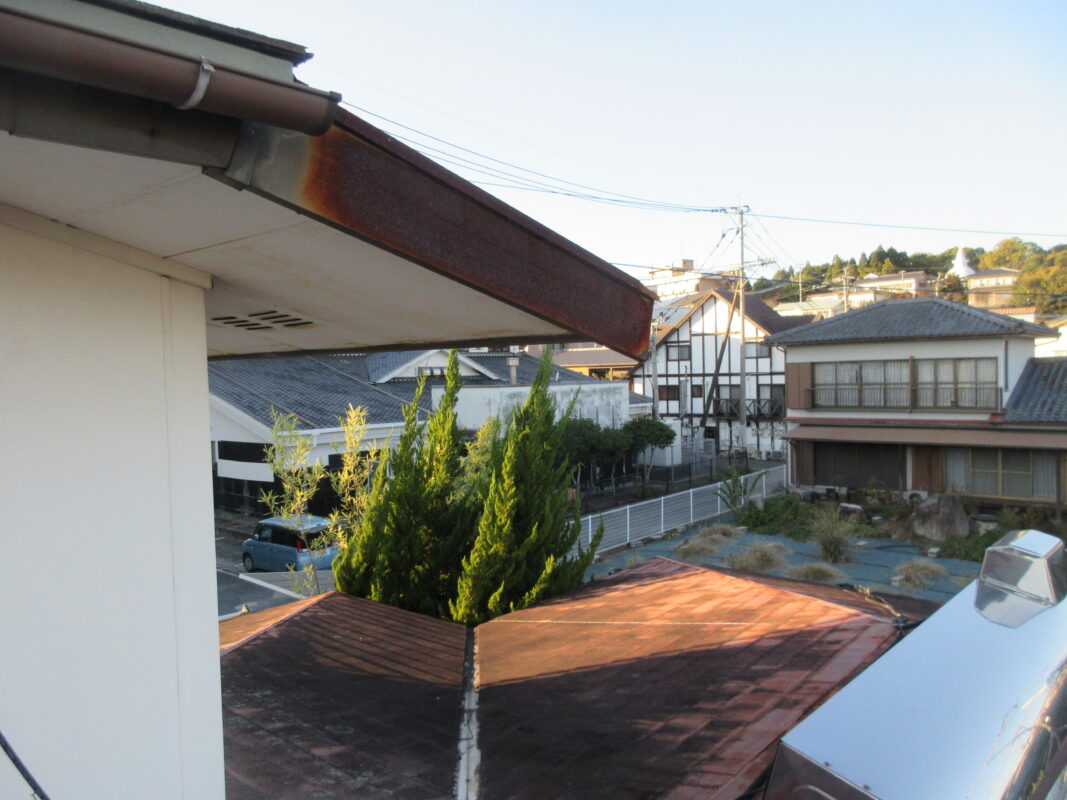
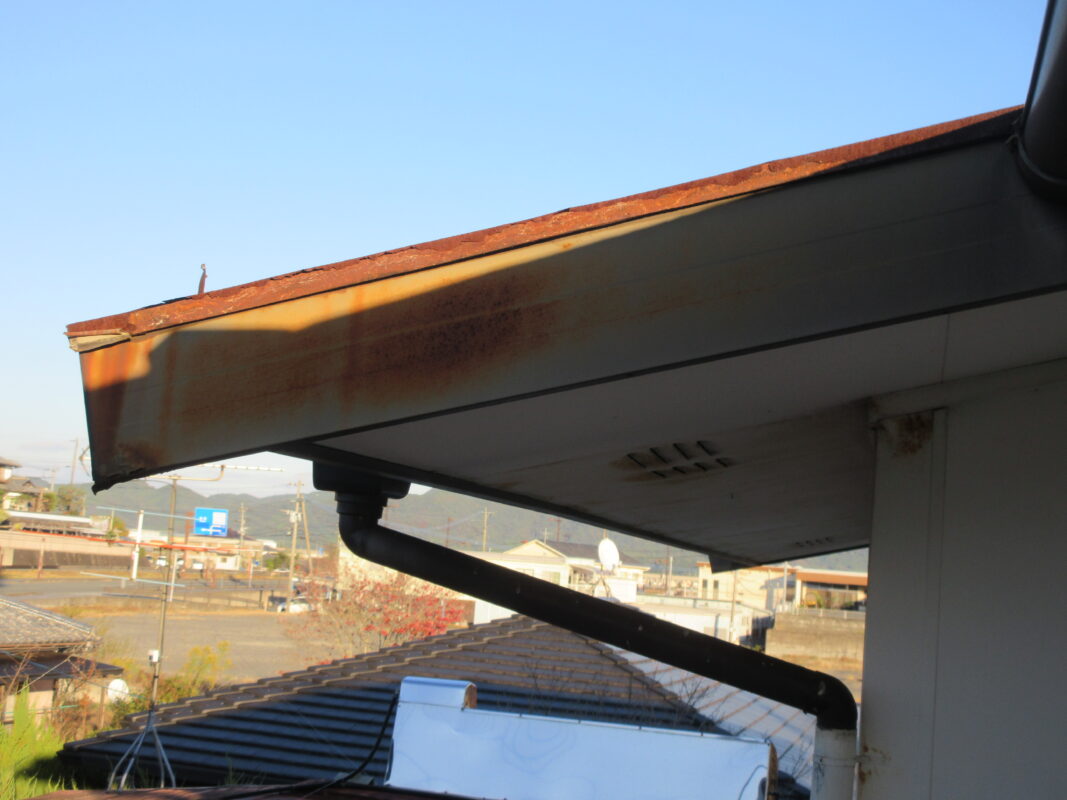
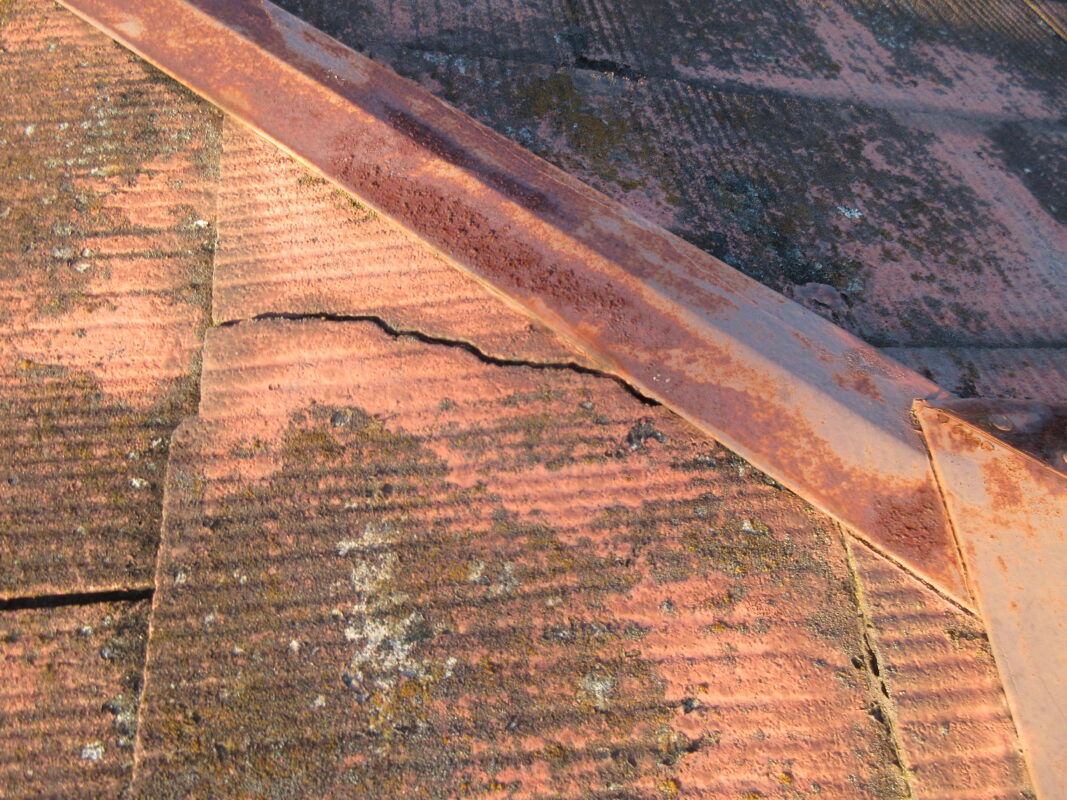
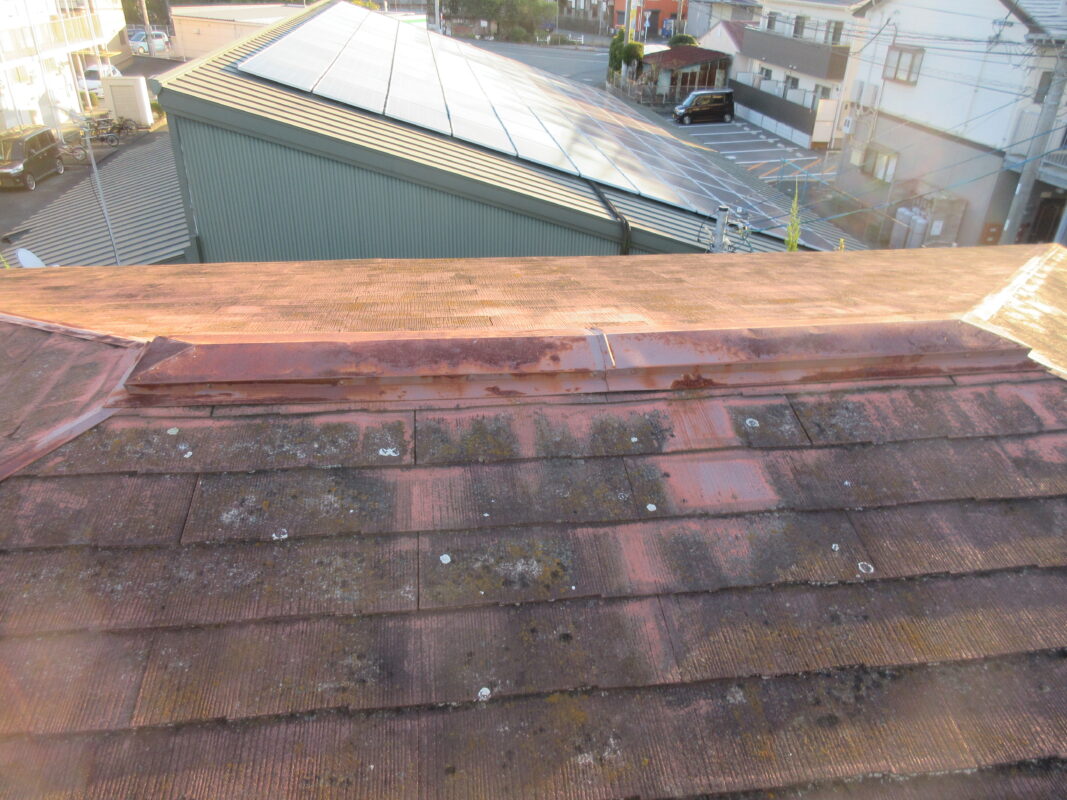
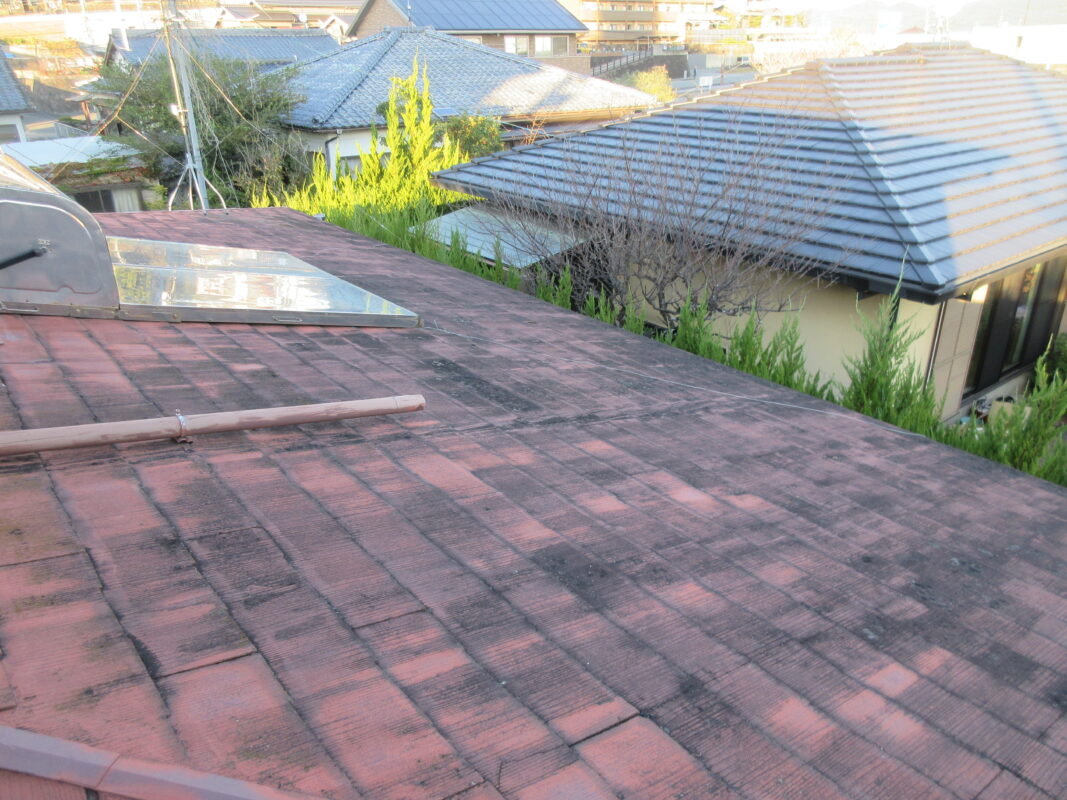
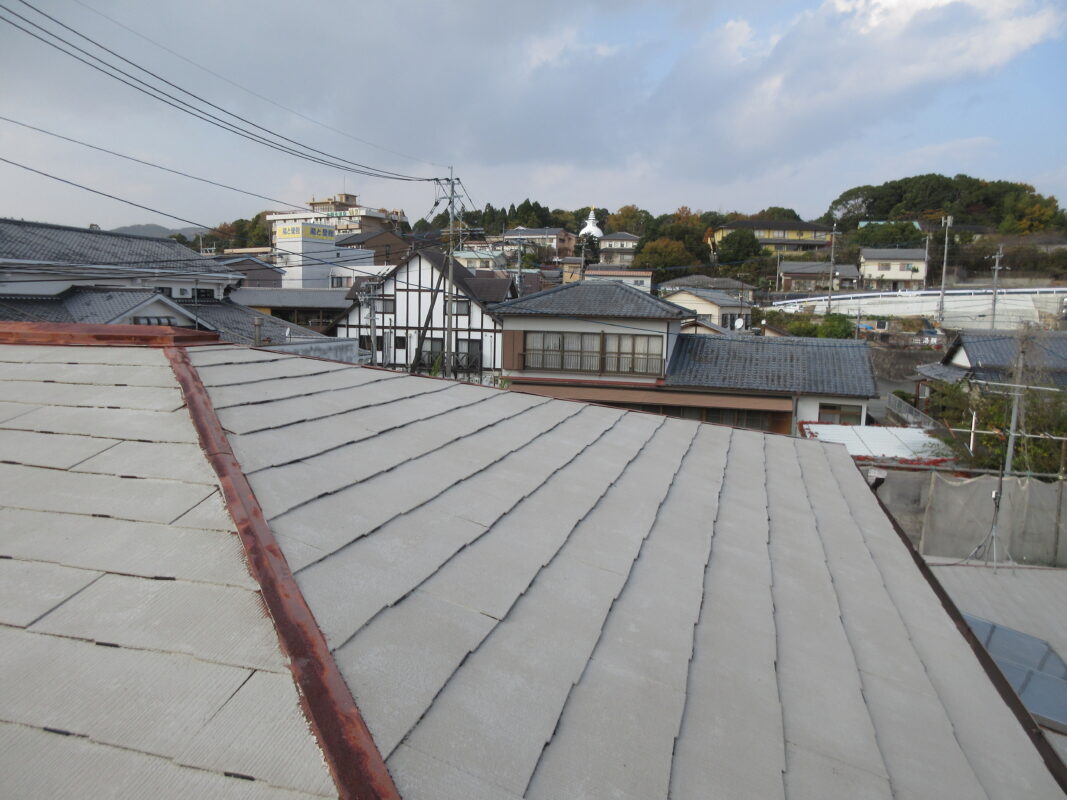
屋根は表面の塗膜が剥がれ、ひび割れも多数発見されました。

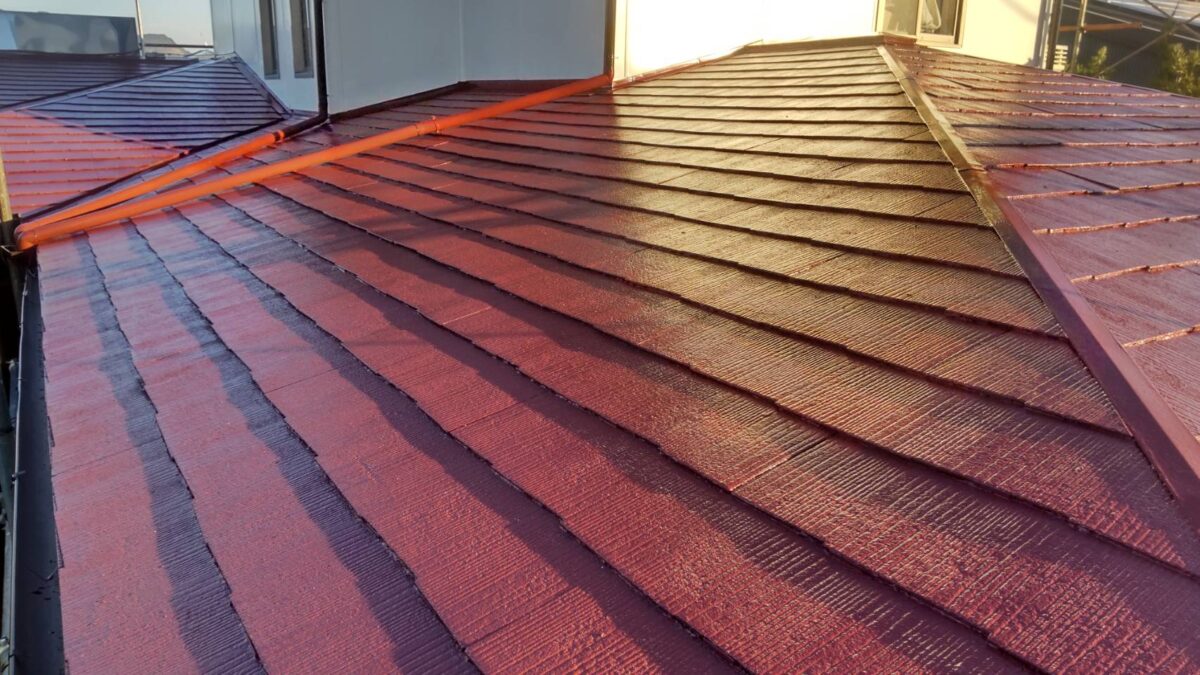
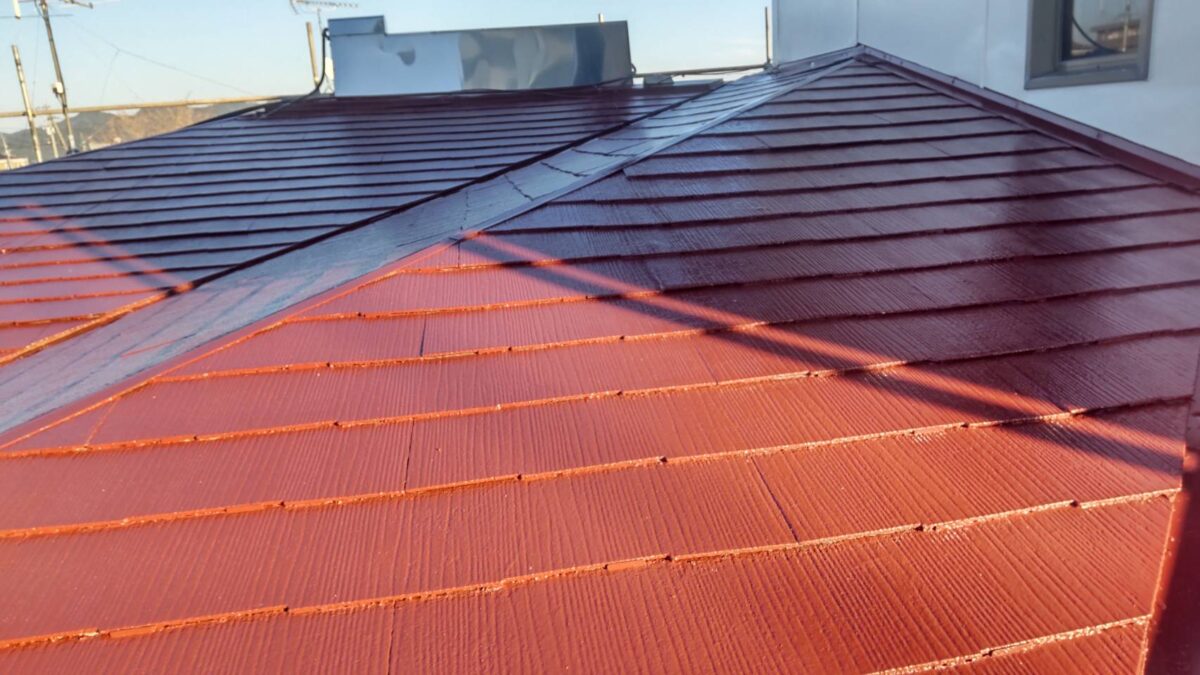
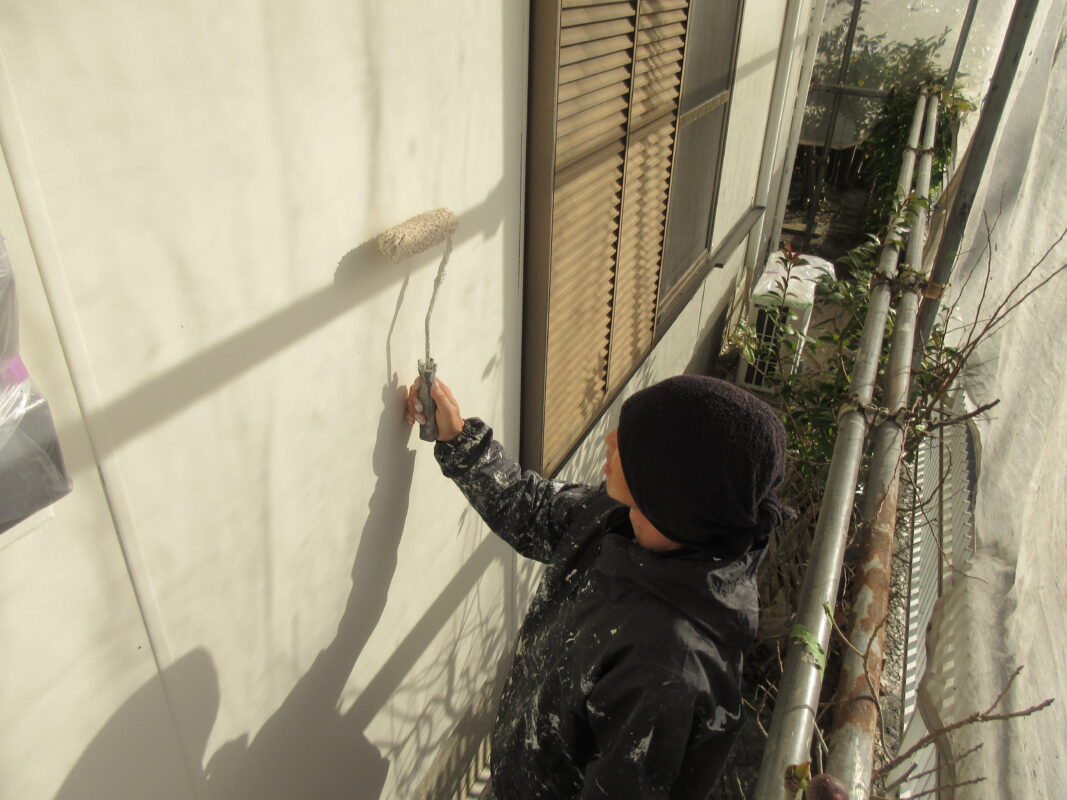
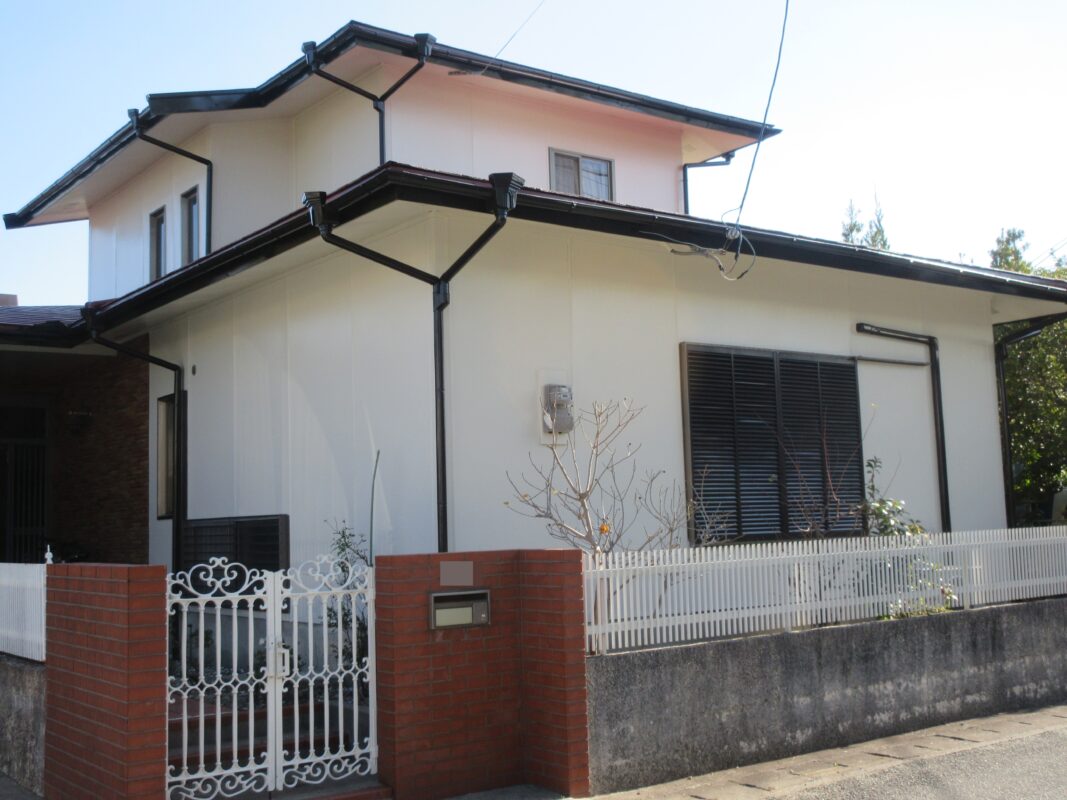
今回もセラミックシリコンで3度塗りを行い綺麗に仕上げていきます。
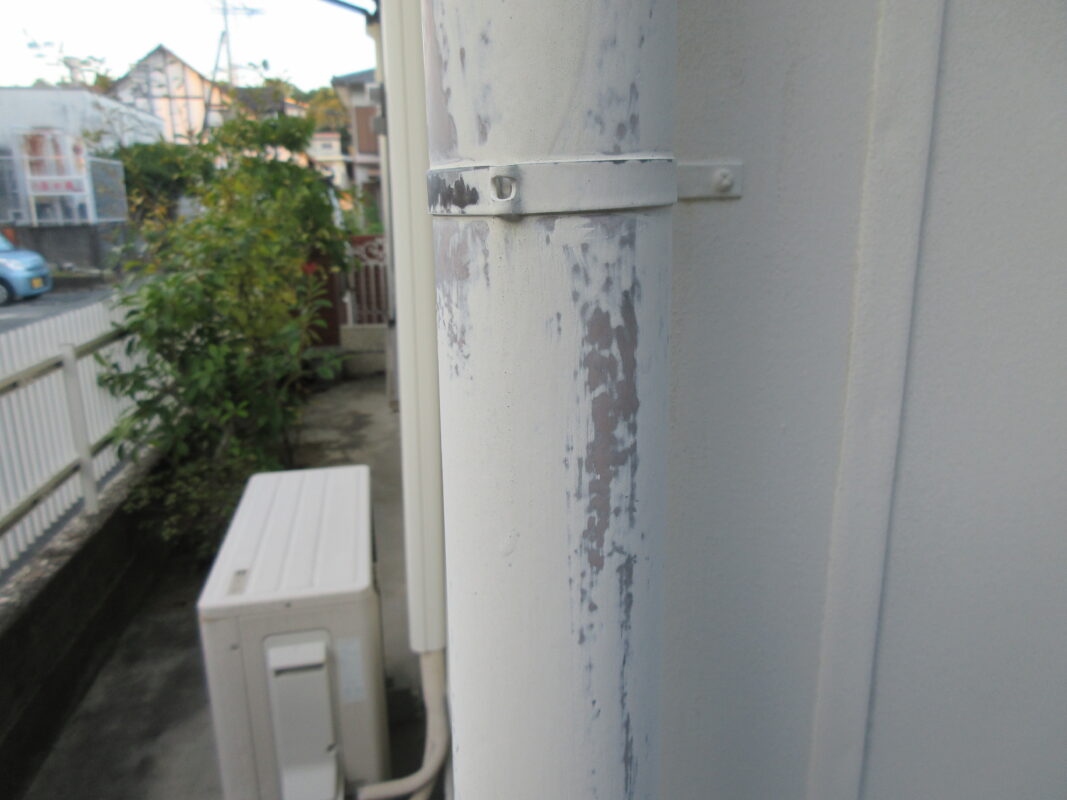
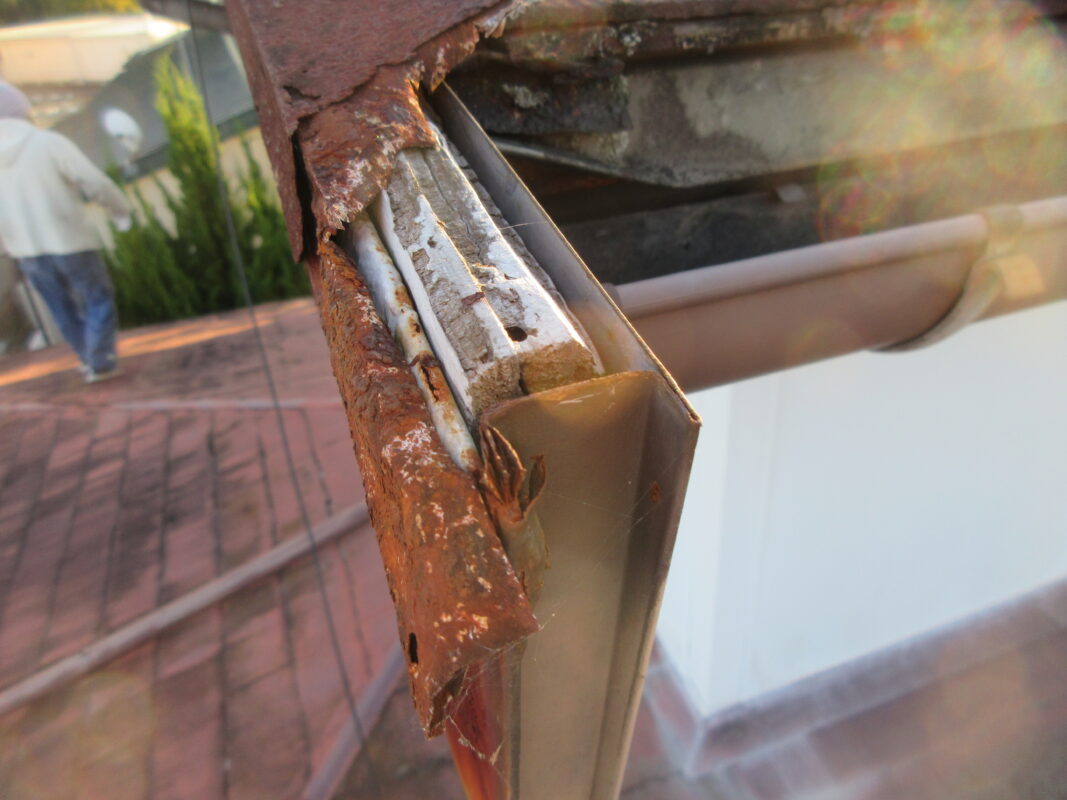
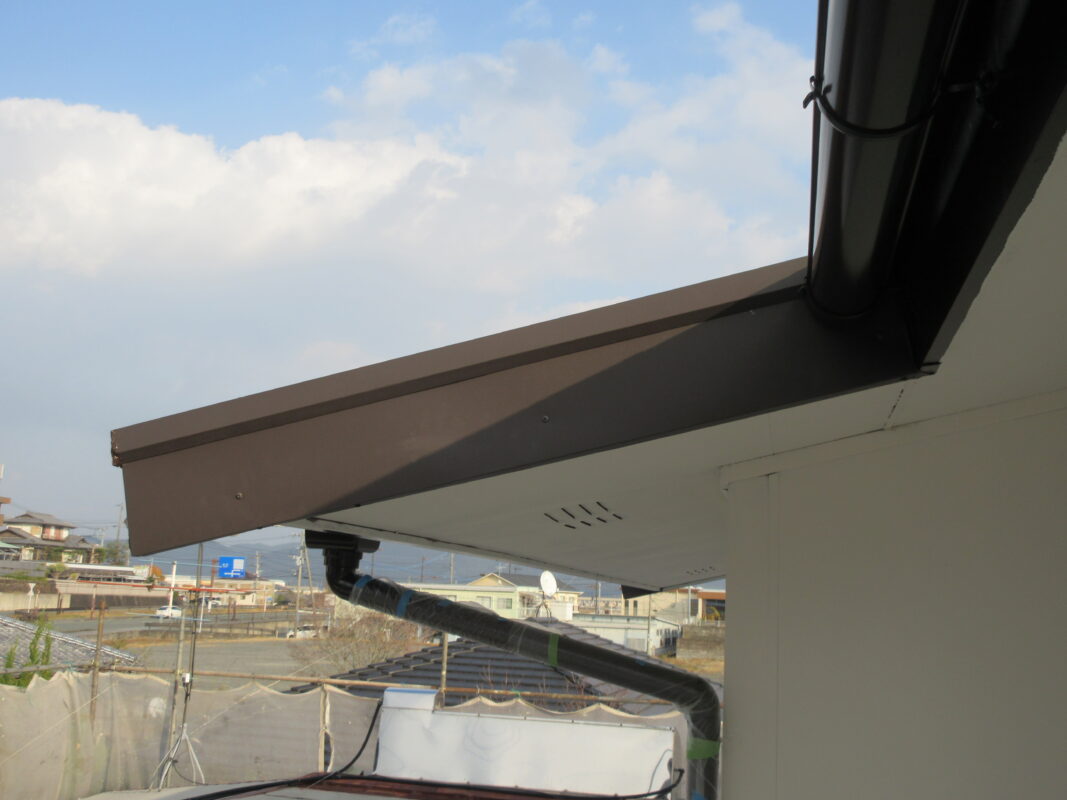
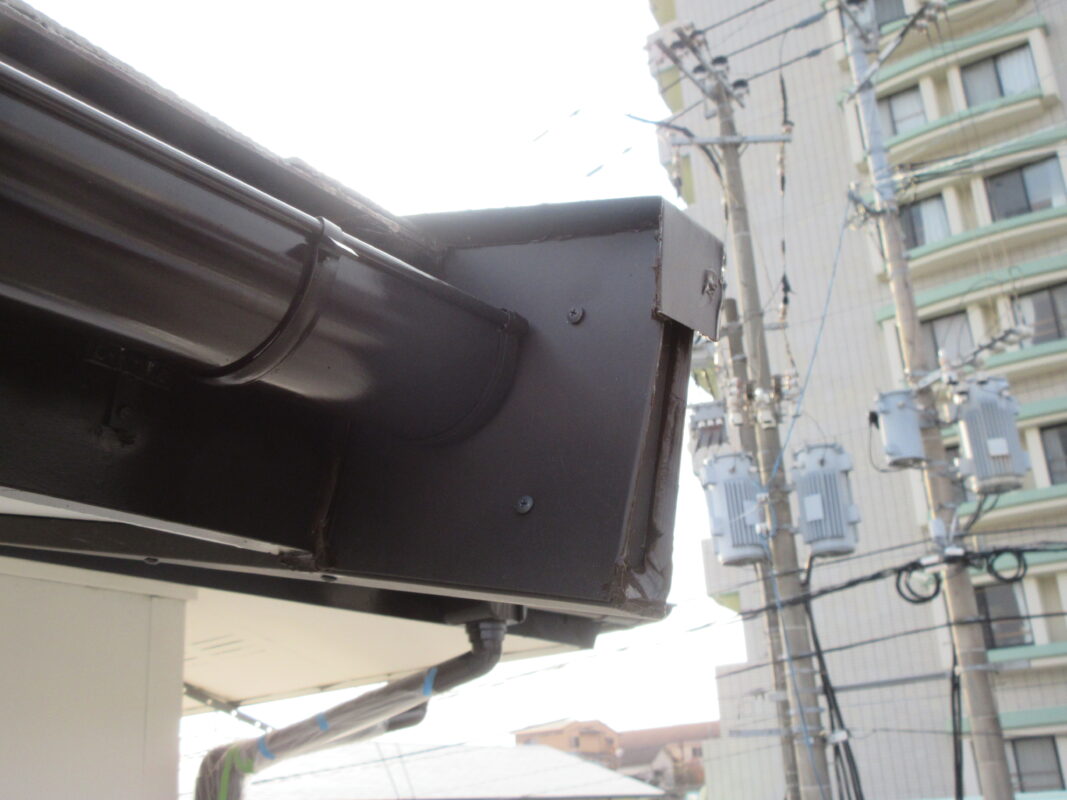
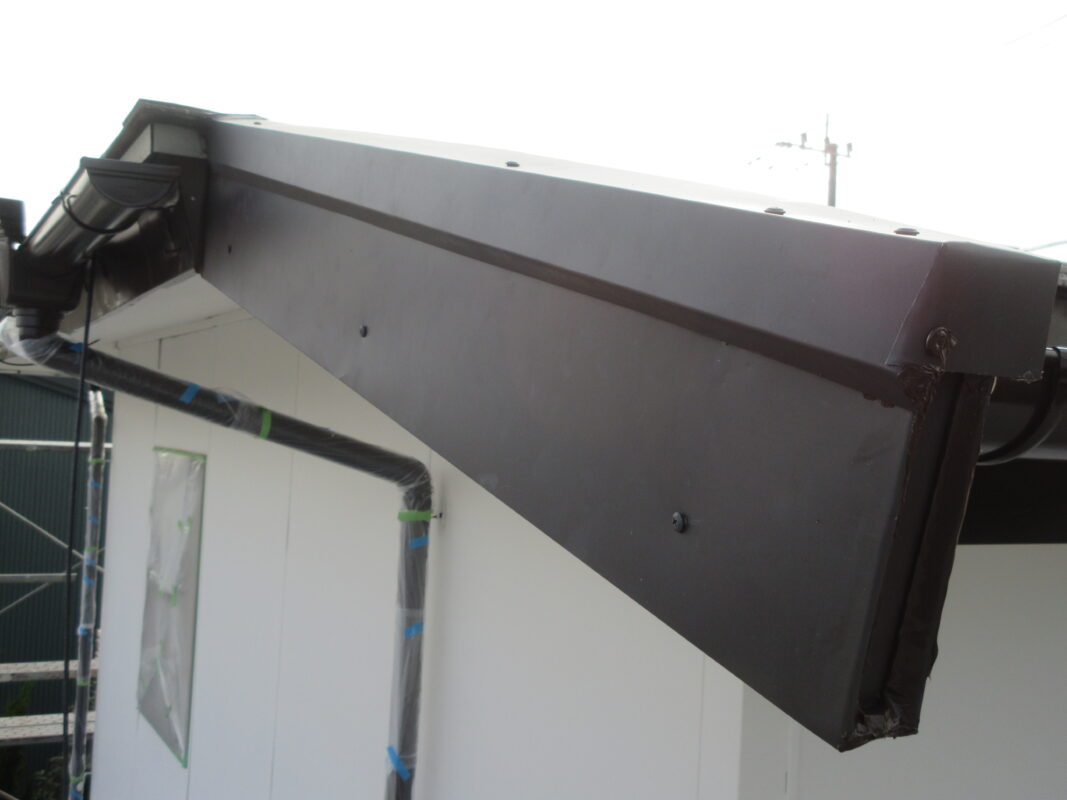
屋根の破風板金もサビ落ちてました。

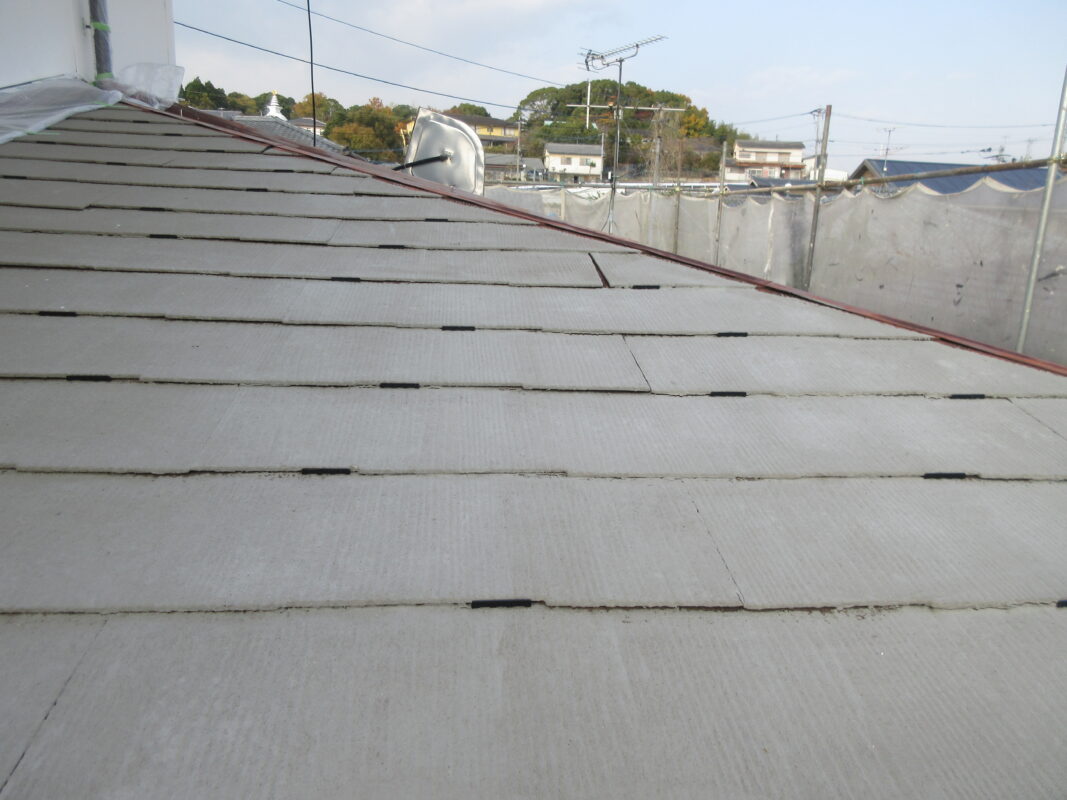
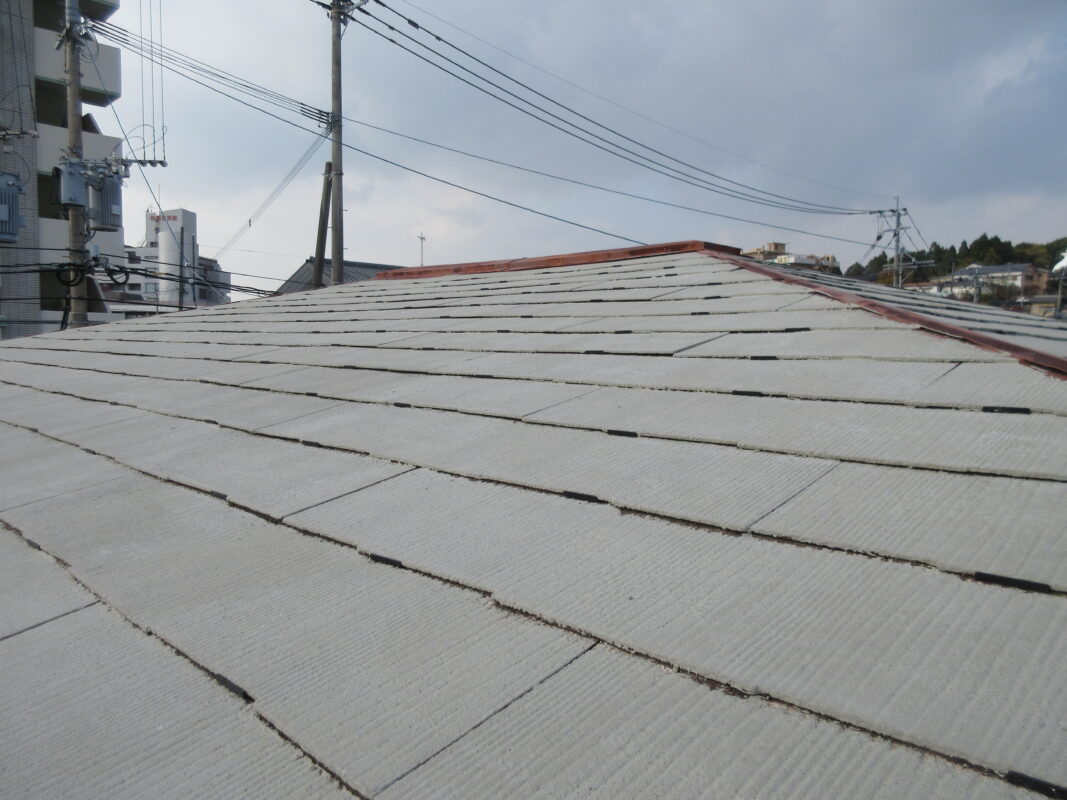
屋根は高圧洗浄をし、既存の塗膜や汚れを剥がした後、セメントフィラーでコロニアル屋根のひび割れを埋めます。その上から決まった塗料を重ね塗りし綺麗な仕上がりになりました。
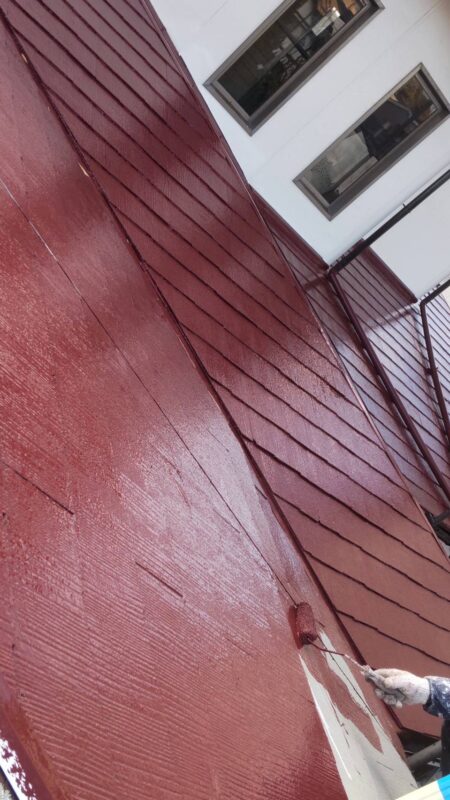
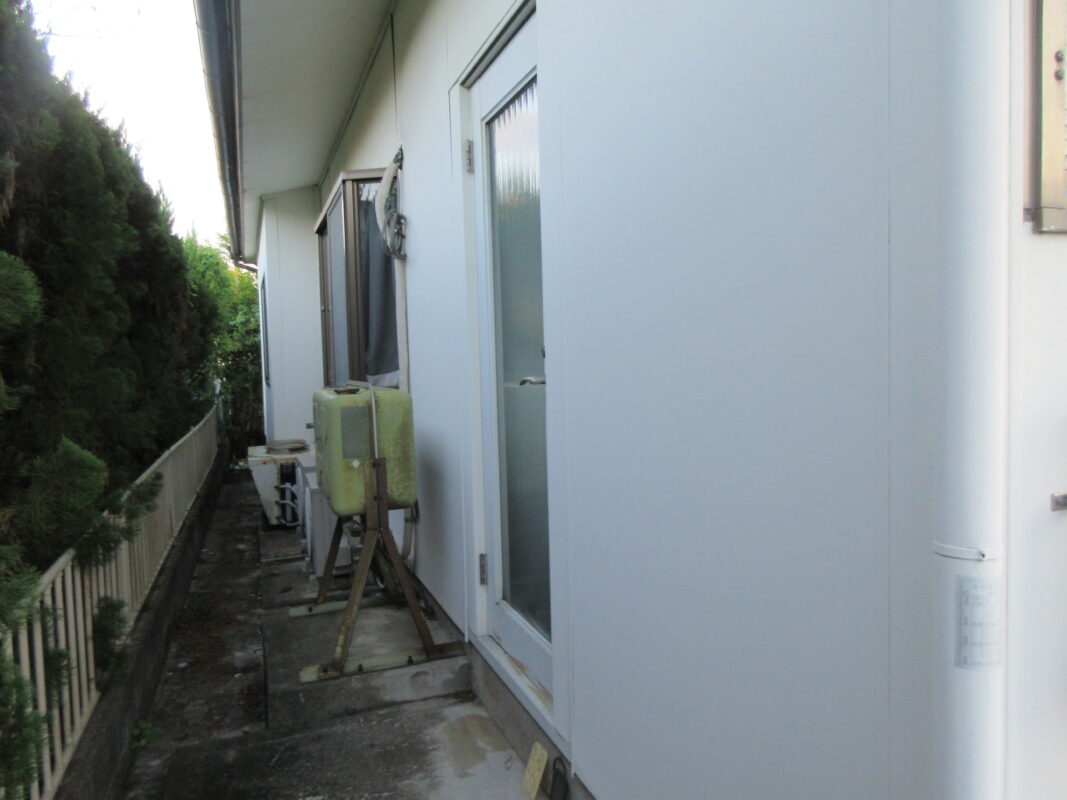
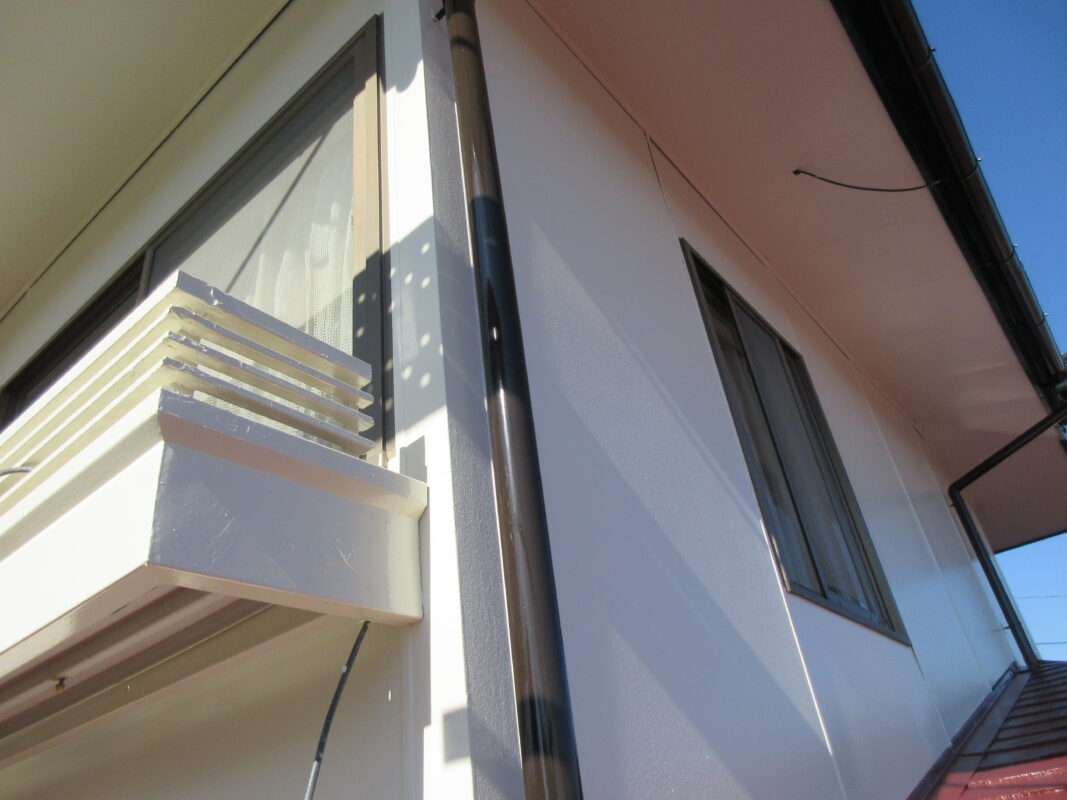
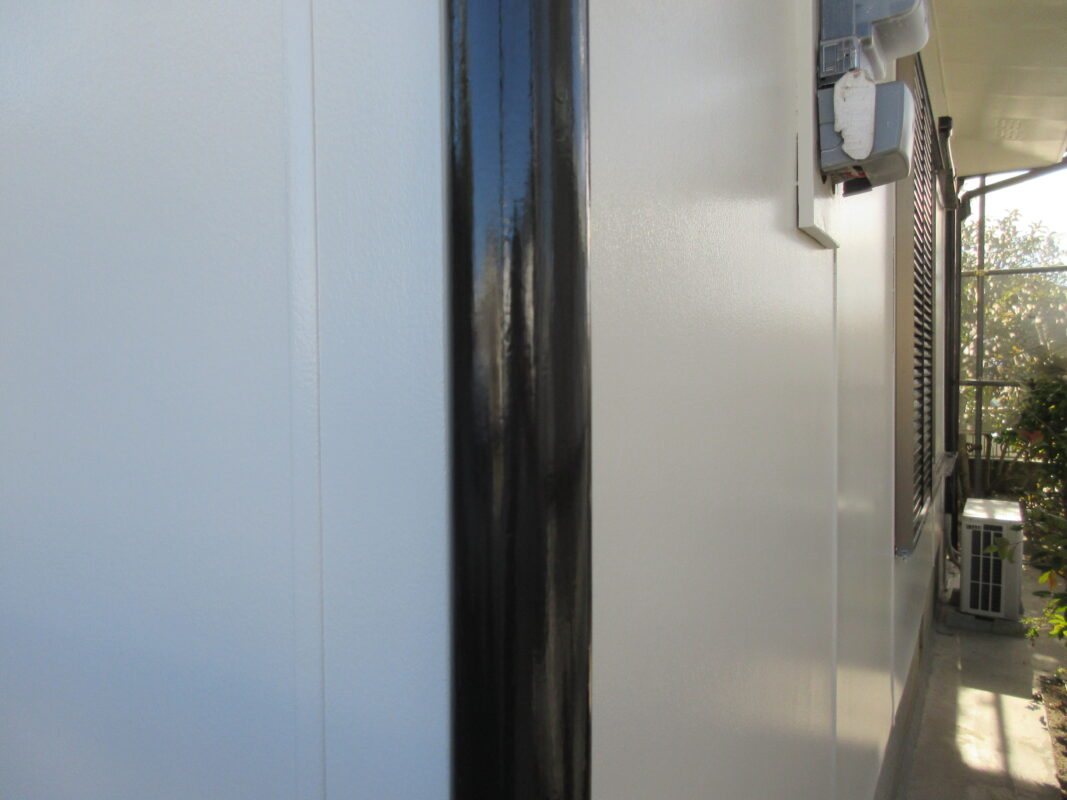
外壁も下塗り・中塗り・上塗りを行い綺麗な仕上がりになりました。
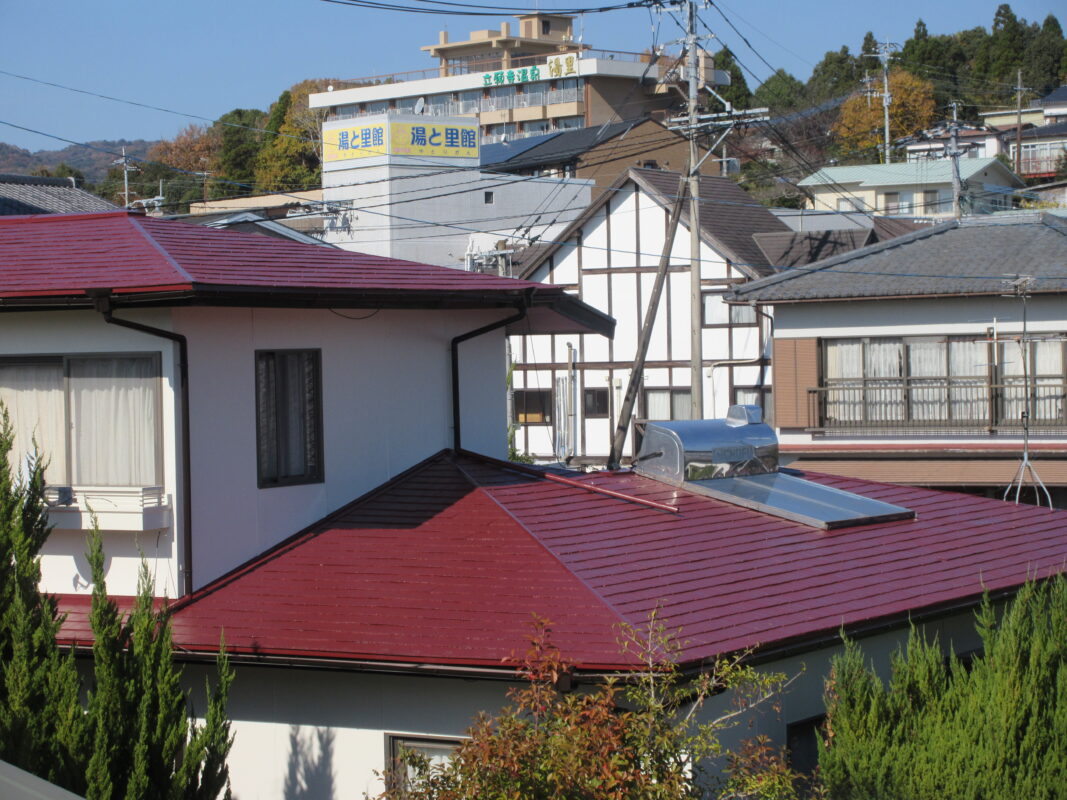
コロニアル屋根は屋根材の隙間を確保しないと雨が侵入した際に外に水がはけなくなり雨漏りの原因になる為、職人の判断でタスペーサーを付けました。