【施工例】庇・物置屋根の錆止めと仕上げ 西区K様邸
施工例
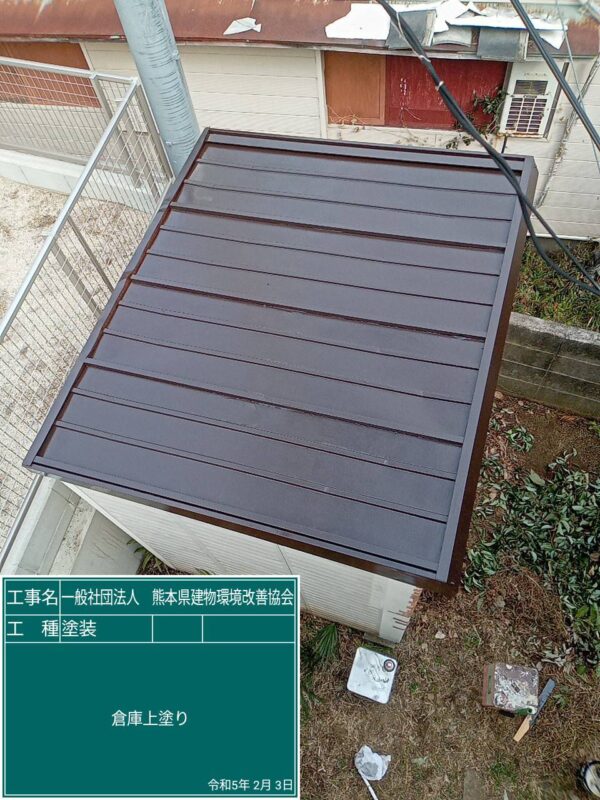
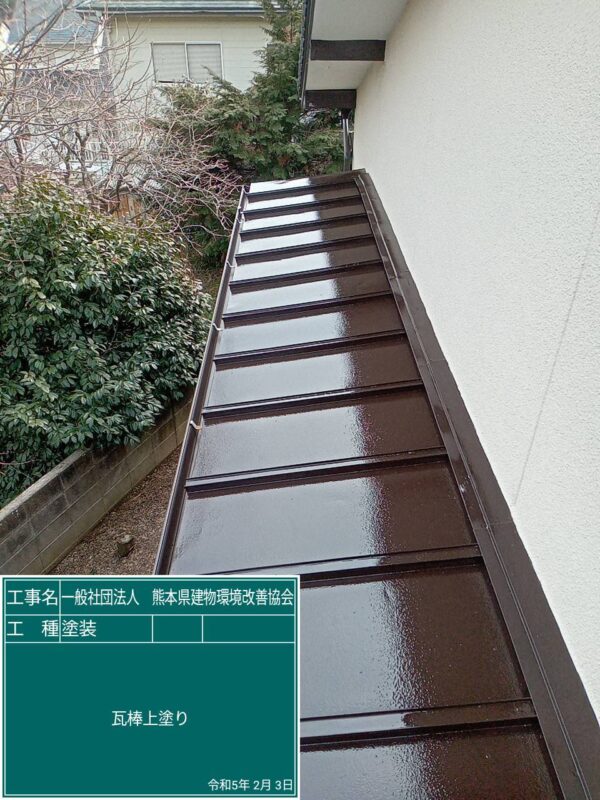
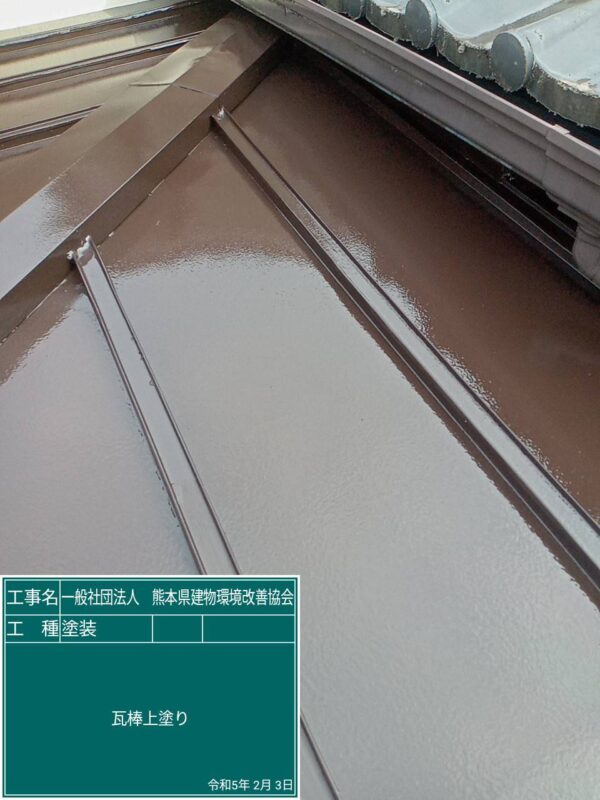
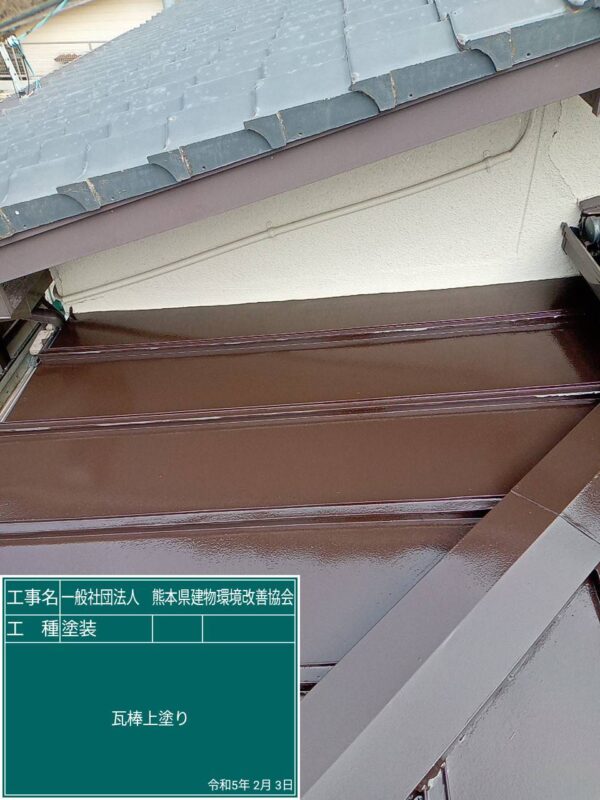
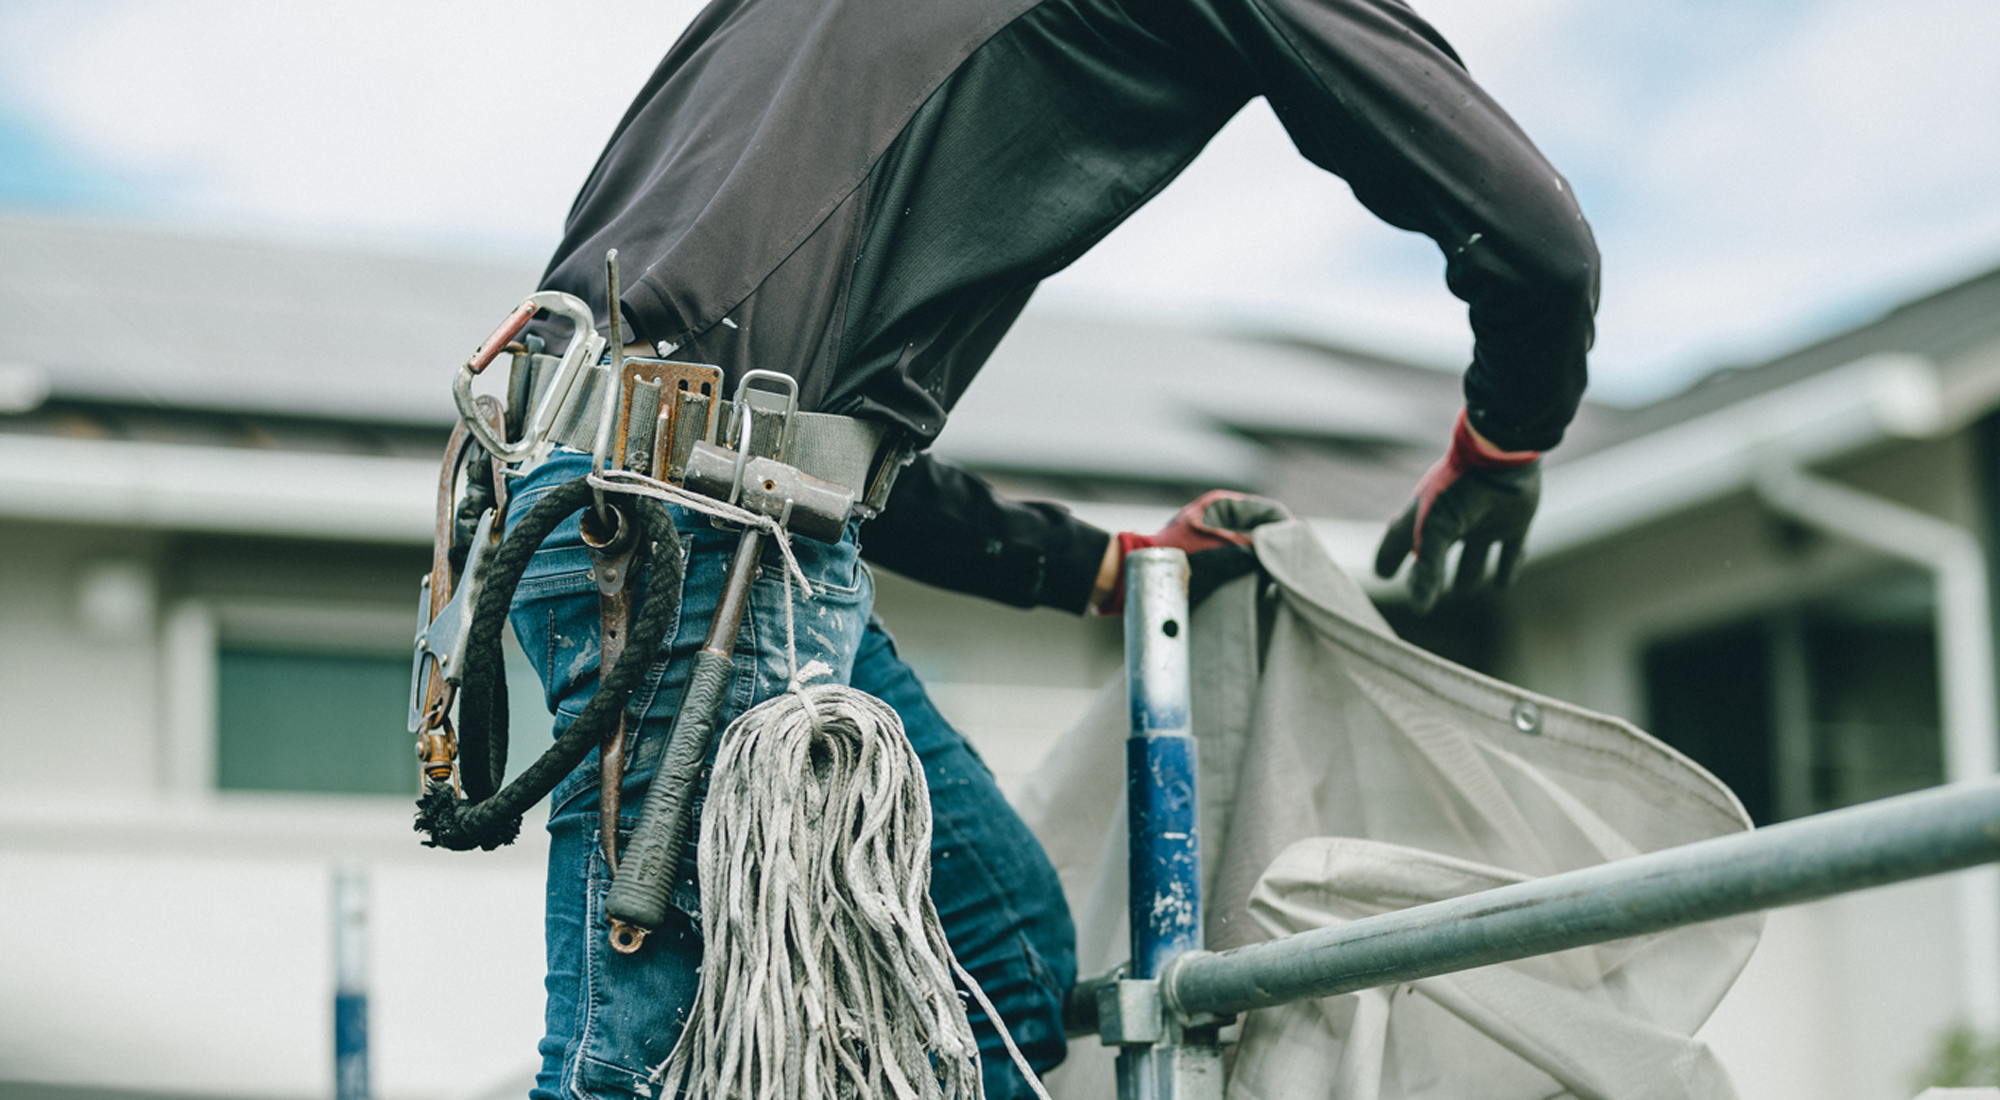
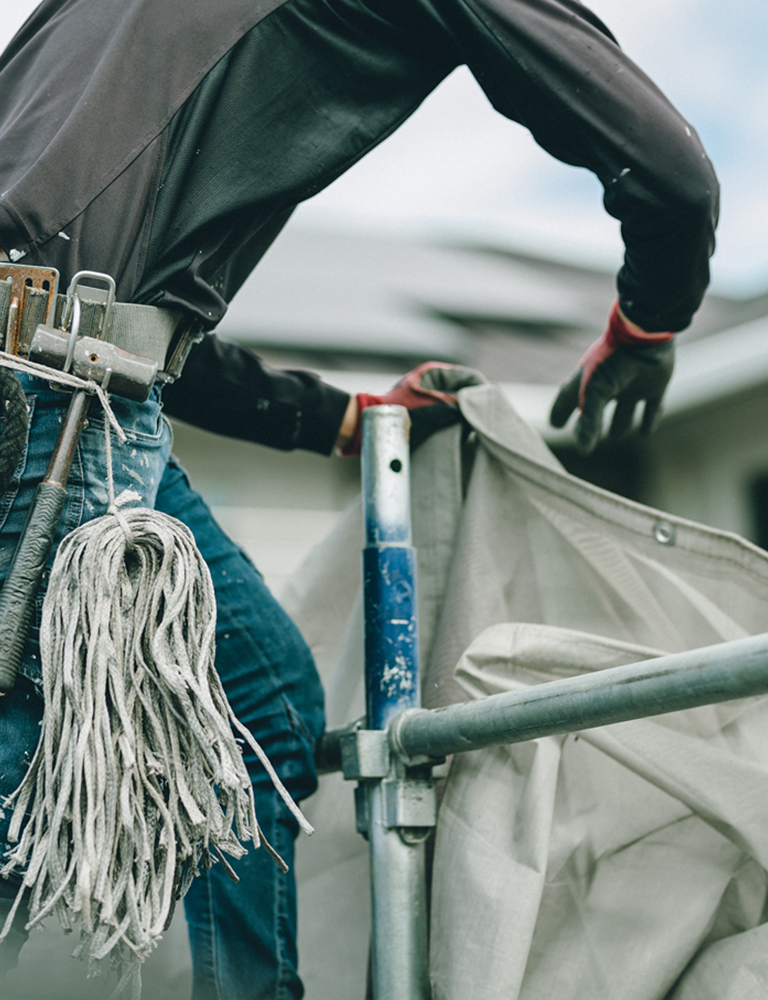
今回、庇と物置屋根のサビが気になるとの事で錆止めと塗装をしていきます。
![](https://tatemono-kankyou.com/blog/wp-content/uploads/2023/07/IMG_2308-1067x800.jpg)
![](https://tatemono-kankyou.com/blog/wp-content/uploads/2023/07/IMG_2310-1067x800.jpg)
![](https://tatemono-kankyou.com/blog/wp-content/uploads/2023/07/IMG_2311-1067x800.jpg)
![](https://tatemono-kankyou.com/blog/wp-content/uploads/2023/07/IMG_2323-1067x800.jpg)
![](https://tatemono-kankyou.com/blog/wp-content/uploads/2023/07/IMG_2324-1067x800.jpg)
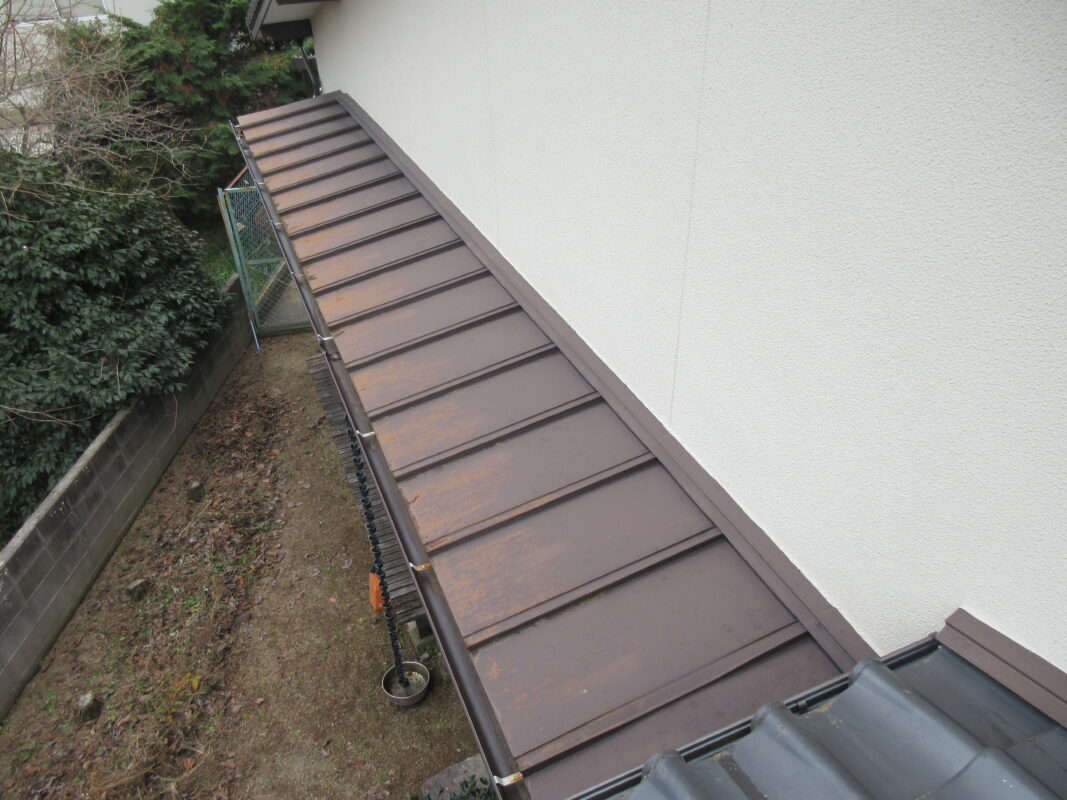
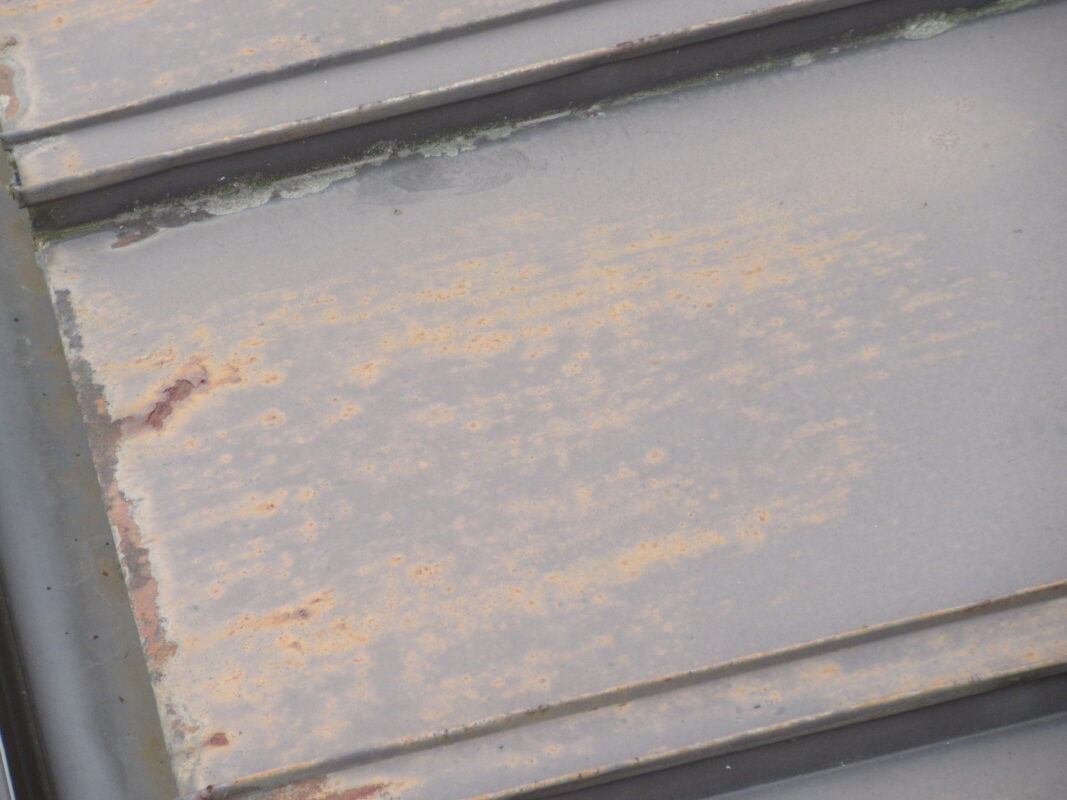
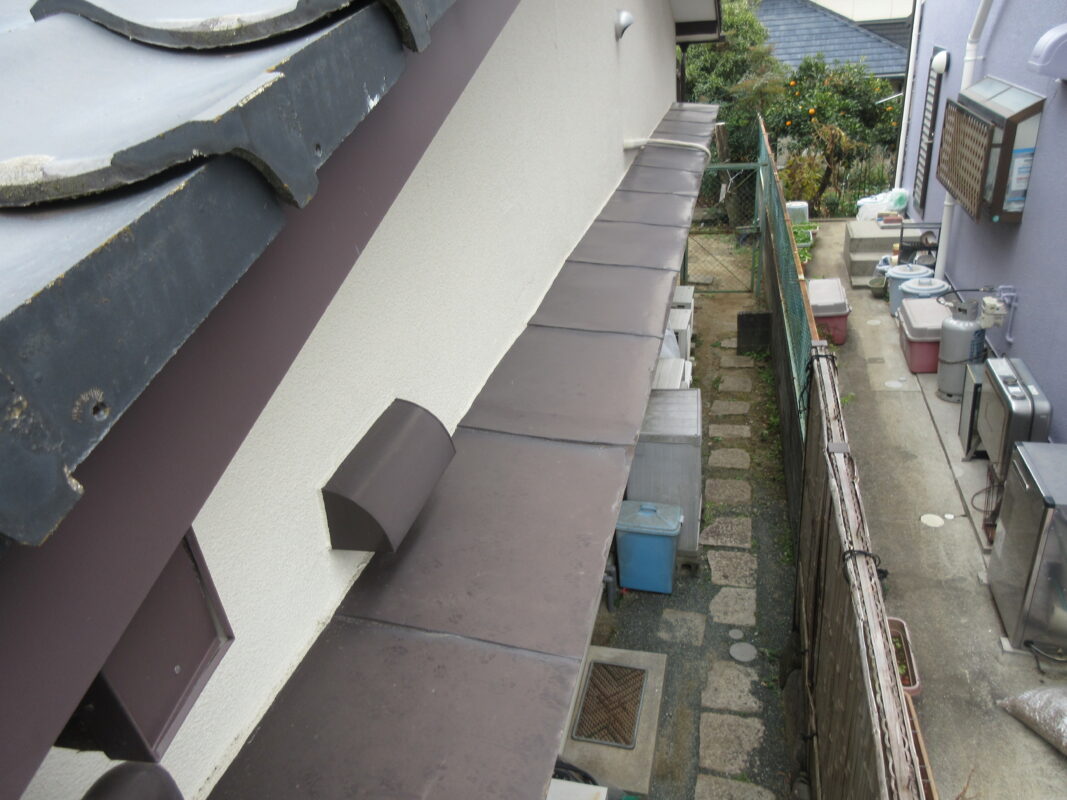
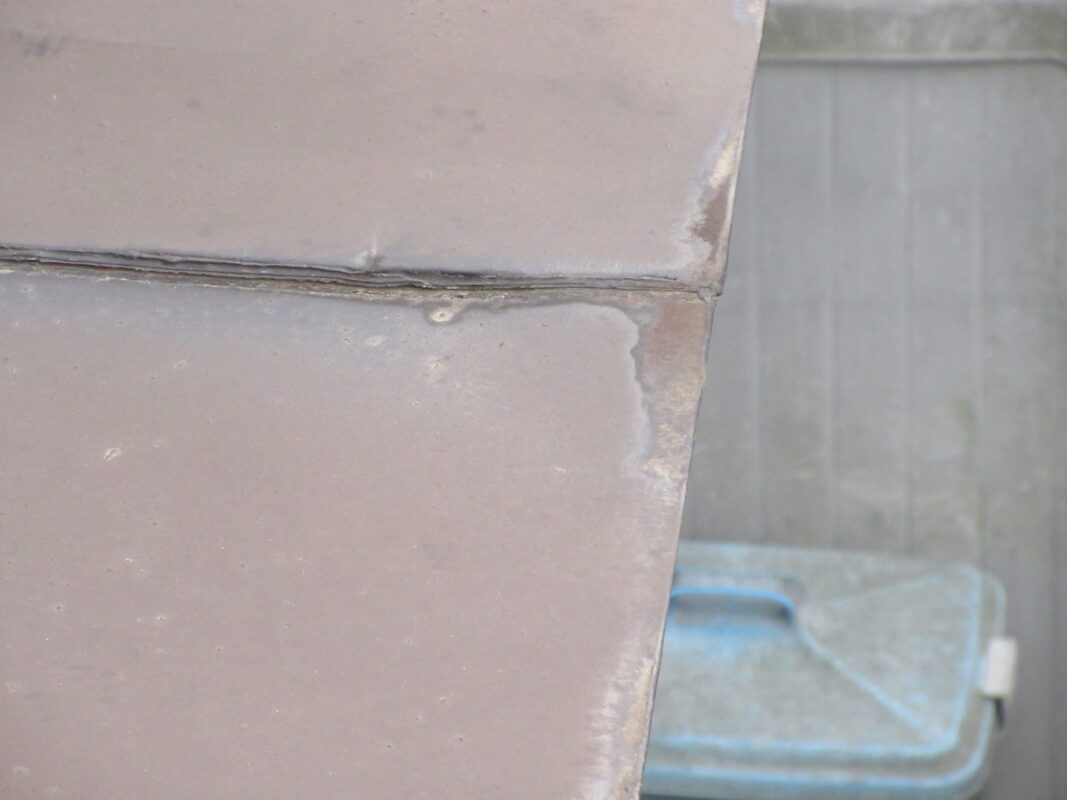
庇や物置屋根は金属板で出来てるので雨水による赤さびが出てきてしまします。
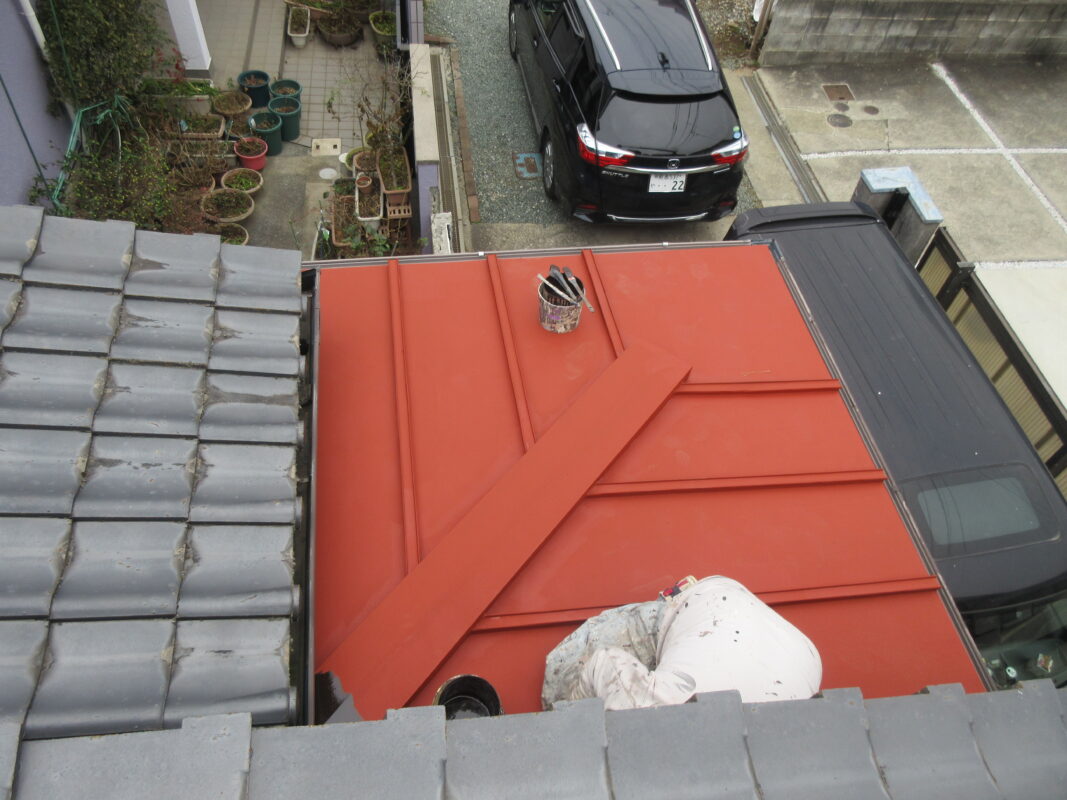
あまりサビがひどい場合は庇の場合、鉄板の交換が必要になりますがこちらは錆での腐食による穴も開いてない為錆を落とし、塗装で持つと判断しました。
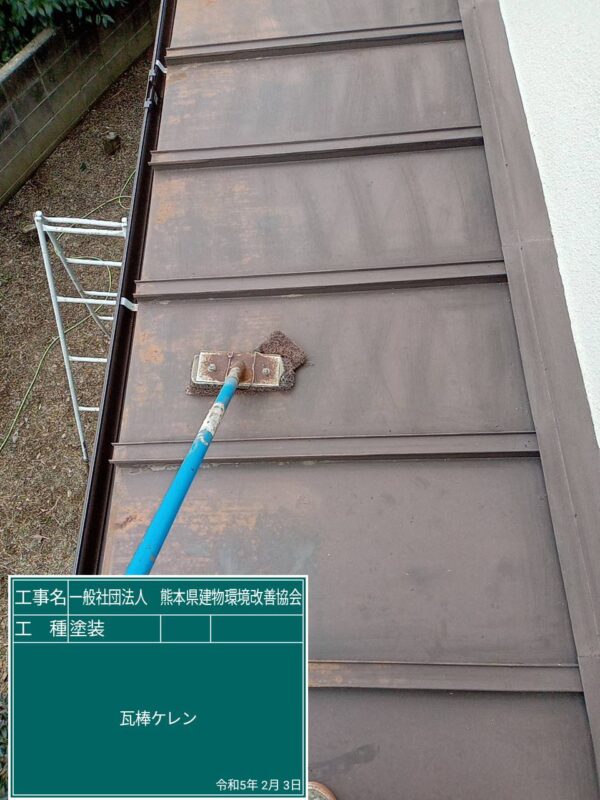
サビはサンドペーパーで全体的を丁寧に落としていきます。いわゆるケレン作業です。
![](https://tatemono-kankyou.com/blog/wp-content/uploads/2023/07/1675411876753-600x800.jpg)
錆をきれいに落としたらその上に錆止めの塗装を塗っていきます。
![](https://tatemono-kankyou.com/blog/wp-content/uploads/2023/07/1675411876577-600x800.jpg)
![](https://tatemono-kankyou.com/blog/wp-content/uploads/2023/07/1675411876635-600x800.jpg)
![](https://tatemono-kankyou.com/blog/wp-content/uploads/2023/07/1675411883961-600x800.jpg)
![](https://tatemono-kankyou.com/blog/wp-content/uploads/2023/07/IMG_3081-1067x800.jpg)
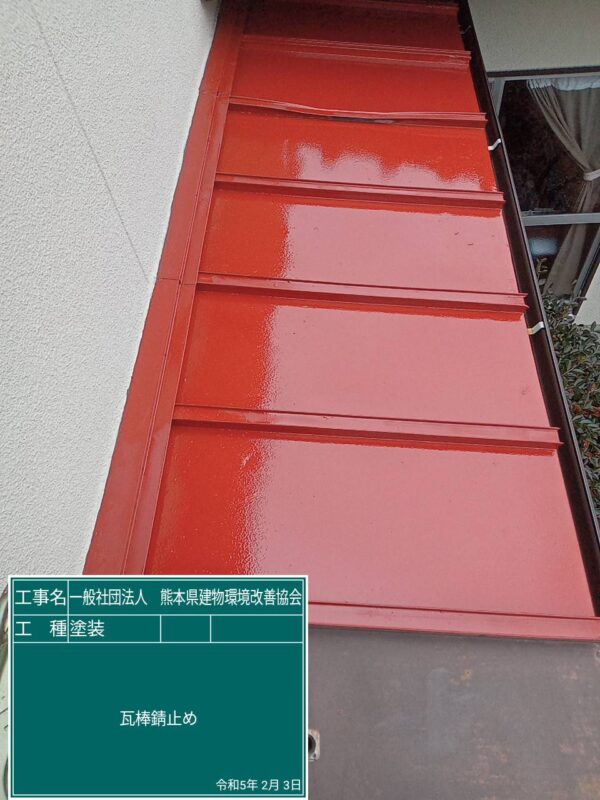
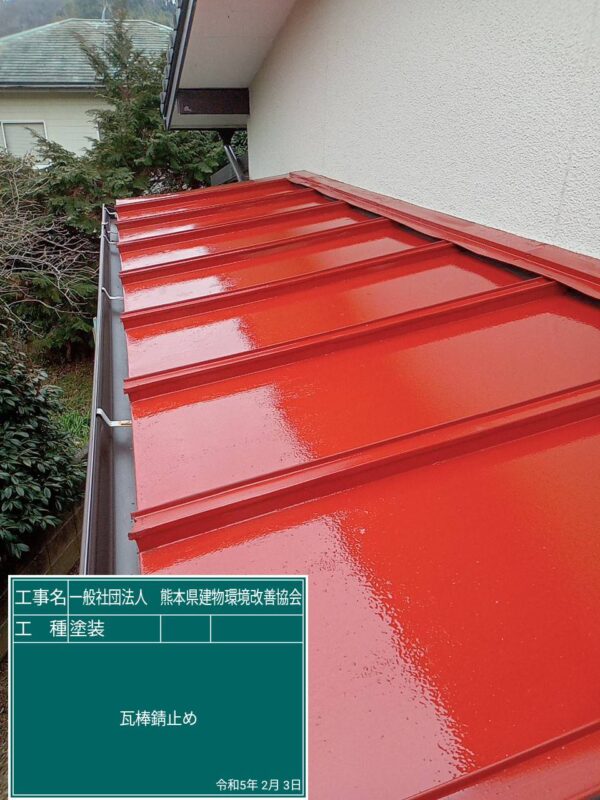
錆止めの塗膜が乾けば最後に上塗りをし仕上げて完了になります。
![](https://tatemono-kankyou.com/blog/wp-content/uploads/2023/07/1675411876323-600x800.jpg)
![](https://tatemono-kankyou.com/blog/wp-content/uploads/2023/07/1675411876425-600x800.jpg)
![](https://tatemono-kankyou.com/blog/wp-content/uploads/2023/07/1675411876476-600x800.jpg)
![](https://tatemono-kankyou.com/blog/wp-content/uploads/2023/07/1675411876529-600x800.jpg)